Easy Japanese Tuna Onigiri Recipe
15-min Easy Japanese Tuna Onigiri is about to become your new best friend for those moments when hunger strikes and time is of the essence. Imagin extracte this: perfectly seasoned, flaky tuna nestled within warm, fluffy rice, all shaped into convenient, portable little packages. It’s no wonder that this simple yet incredibly satisfying dish has captured hearts worldwide. The beauty of Japanese tuna onigiri lies in its versatility and pure, unadulterated deliciousness. It’s the ideal quick lunch, a satisfying snack, or even a light dinner when you just need something comforting and wholesome. What makes this 15-min Easy Japanese Tuna Onigiri so special is its ability to deliver a burst of authentic Japanese flavor with minimal effort. You don’t need to be a culinary expert to master this recipe; just a few minutes and some basic ingredients are all it takes to create something truly delightful.
Why You’ll Love This 15-min Easy Japanese Tuna Onigiri
Quick & Effortless Preparation
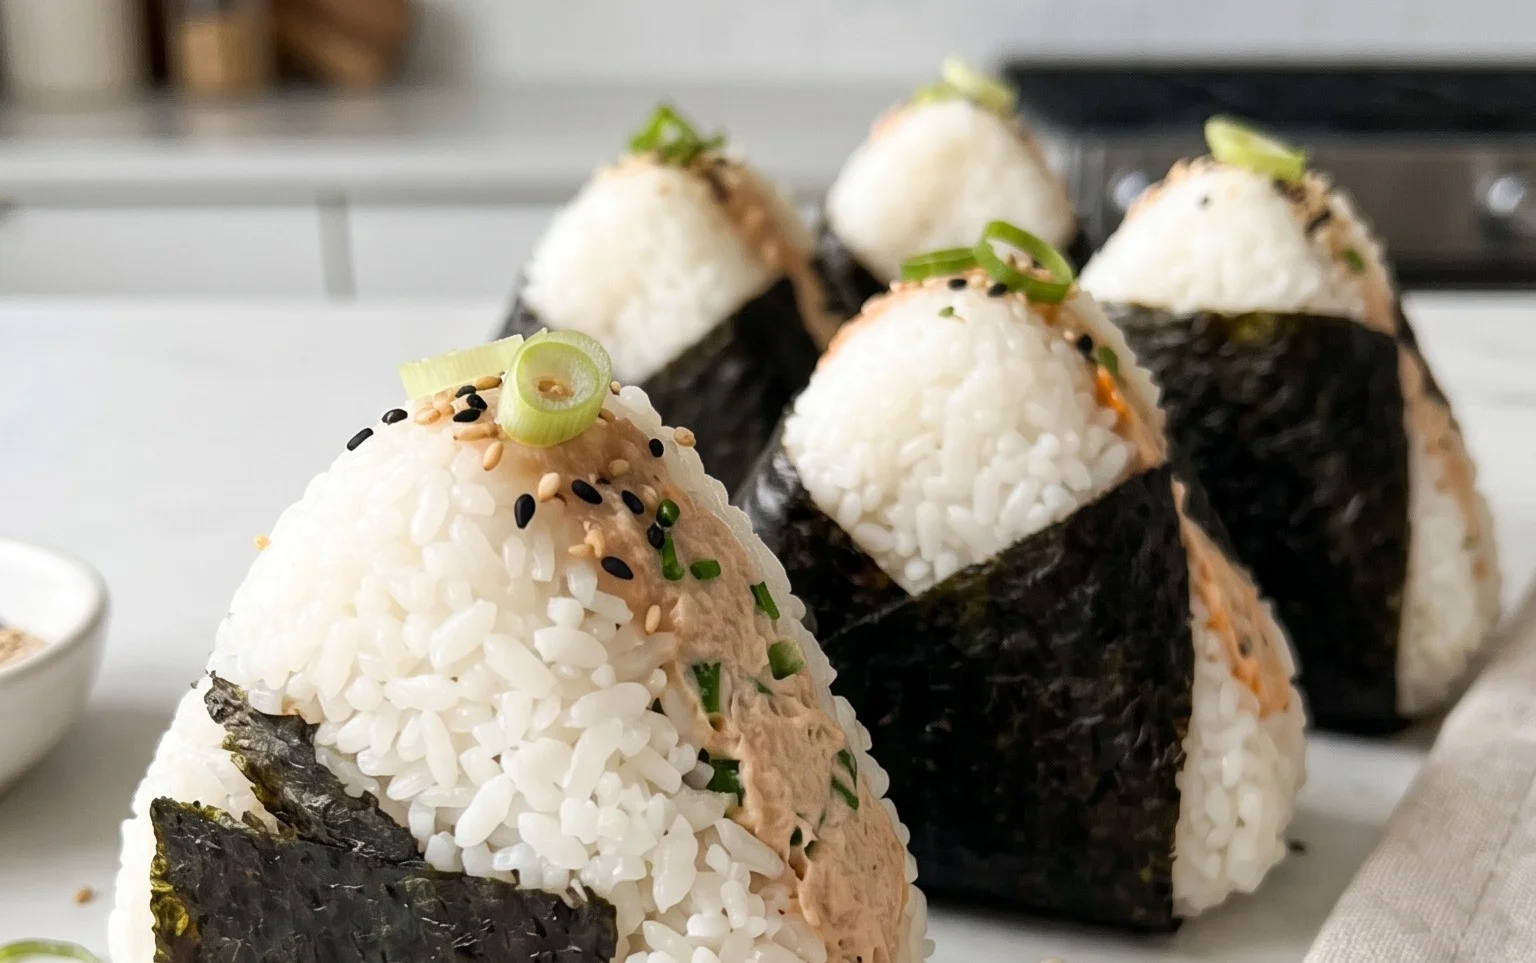
15-Minute Easy Japanese Tuna Onigiri
Craving a quick, satisfying, and deliciously savory snack or light meal? Look no further than these incredibly easy 15-minute Japanese Tuna Onigiri! These rice balls are a classic in Japanese bento boxes and convenience stores for a reason – they’re simple, customizable, and bursting with flavor. Perfect for a busy lunch break, a post-workout refuel, or even a comforting late-night bite, this recipe streamlines the process so you can enjoy homemade goodness in no time. We’re focusing on speed and simplicity without sacrificing that authentic taste we all love. Let’s get started!
Ingredients:
Preparing Your Onigiri Filling
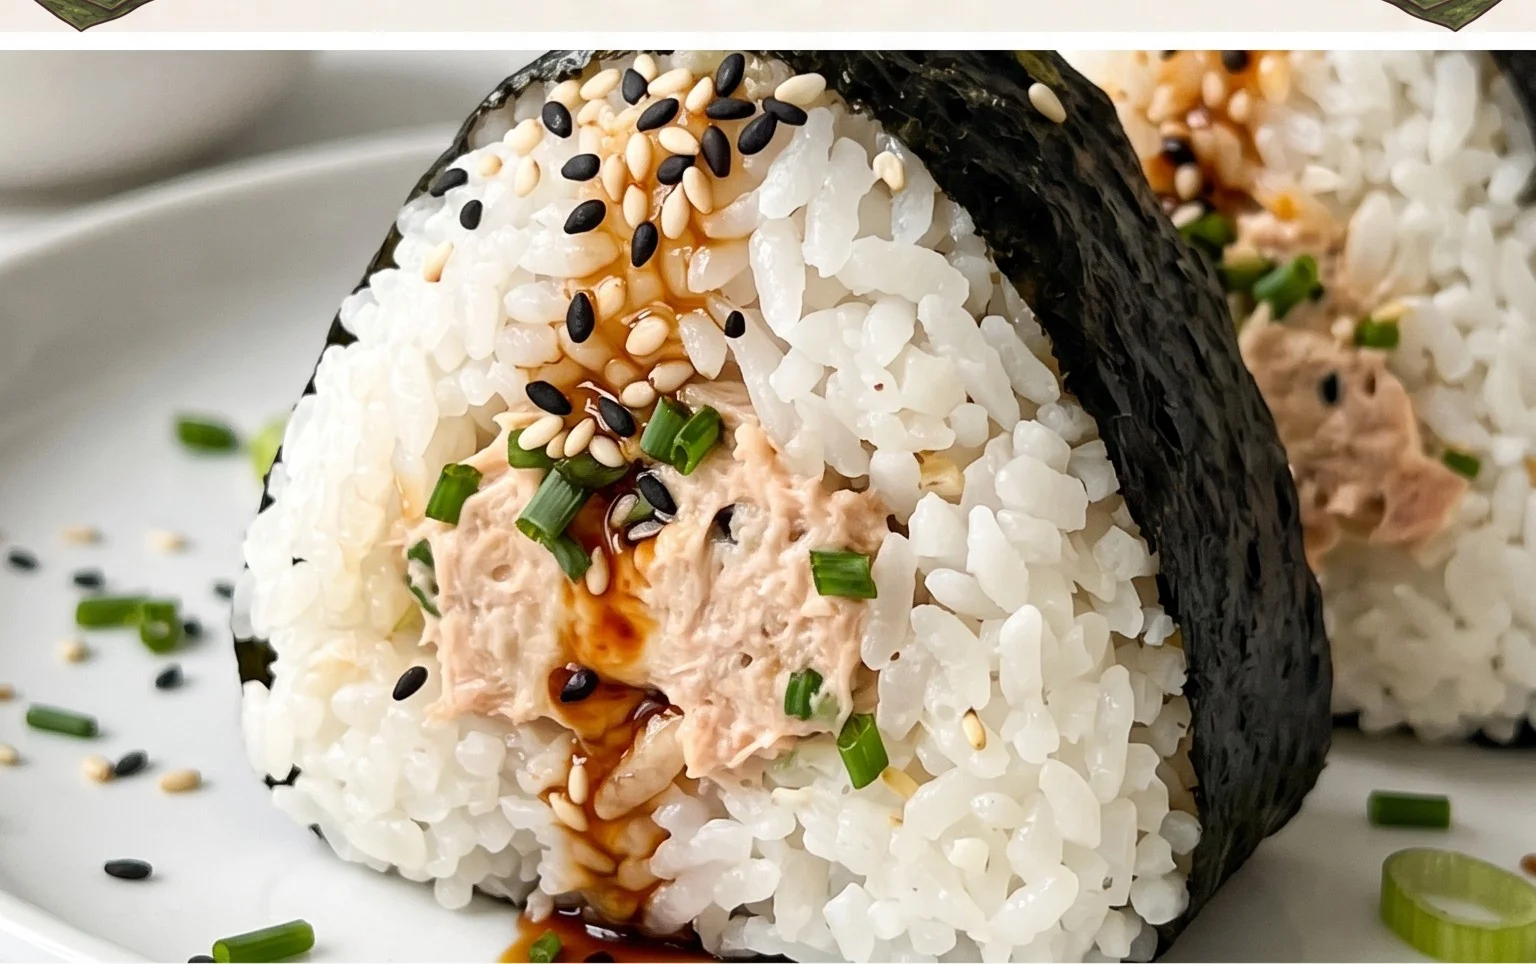
The heart of any great onigiri is its flavorful filling. For this recipe, we’re using the ubiquitous and much-loved canned tuna. The beauty of tuna onigiri lies in its simplicity and the creamy, savory punch it delivers.
First, open your can of tuna. If you’re using tuna packed in oil, drain off most of the excess oil, but leave a little bit behind. This oil adds a wonderful richness and helps keep the tuna moist. If you’re using tuna packed in water, drain it thoroughly.
Next, transfer the drained tuna to a small bowl. Add the mayonnaise. Japanese mayonnaise, like Kewpie, has a richer, tangier flavor due to its use of egg yolks and rice vinegar, which I find perfect for onigiri. However, regular mayonnaise will work perfectly well too. Mix the tuna and mayonnaise together until they are well combined and form a creamy, cohesive mixture. Don’t be afraid to get in there with a fork and really mash it up to break down any large chunks. You want a smooth, spreadable filling. Taste the mixture. If you feel it needs a little more zing, you can add a tiny pinch of salt or even a drop of soy sauce, but the mayo often provides enough salinity.
Shaping Your Delicious Rice Balls
Now for the fun part: shaping the onigiri! The key to perfectly shaped rice balls is using slightly cooled, but still warm, rice. This makes the rice sticky enough to hold its shape without being too hot to handle. If your rice is too hot, you risk burning your fingers; if it’s too cold, it won’t bind together properly.
Start by preparing your hands. Wetting your hands with water is crucial to prevent the rice from sticking to them. You can also rub a tiny bit of salt onto your palms. This not only helps prevent sticking but also seasons the outside of the onigiri.
Take about half a cup of the cooked short-grain rice and place it in the palm of your wet, salted hand. Gently flatten the rice into a disc. Make an indentation in the center of the rice disc, large enough to hold a tablespoon or so of your tuna filling. Spoon the prepared tuna mixture into this indentation.
Carefully bring the edges of the rice up and over the filling, encasing it completely. Gently cup your hands around the rice and begin extract to shape it. You can make your onigiri in a traditional triangle shape, a round ball, or even a cylinder. To form a triangle, imagin extracte you’re gently pressing the rice between three fingertips on one hand and your palm on the other. Rotate the rice ball as you press, shaping it into a neat triangle. For a round shape, simply cup your hands and gently roll the rice ball between them, applying even pressure. Don’t press too hard, or you’ll make the rice dense and hard; a light but firm touch is best.
Adding the Finishing Touches
Once your onigiri are shaped, it’s time to add the finishing touches that elevate them from simple rice balls to delightful Japanese treats.
If you’re using nori, you have a couple of options. You can cut strips of nori to wrap around the base or a corner of your onigiri, or you can cut out small shapes to decorate the top. For a quick and easy option, simply take a sheet of nori and tear or cut off a strip about an inch wide and long enough to wrap around the bottom of your onigiri. Gently press the nori onto the rice ball. The moisture from the rice will help it adhere. If you want a more visually appealing presentation, you can use kitchen scissors to cut out small stars, circles, or even little faces from the nori to place on top.
Finally, if you’re using sesame seeds, sprinkle them over the top of the onigiri for an extra layer of flavor and visual appeal. Toasted sesame seeds offer a lovely nutty aroma and a satisfying crunch. Simply dust them over the surface of your rice balls. They stick well to the slightly moist surface of the onigiri.
And there you have it! Delicious, homemade Japanese Tuna Onigiri ready to be enjoyed in under 15 minutes. These are best served fresh, but they can be stored in an airtight container at room temperature for a few hours or in the refrigerator for up to a day (though the rice might harden a bit when chilled). Enjoy your quick and tasty creation!
Conclusion:
And there you have it! Your very own delicious and incredibly easy Japanese Tuna Onigiri, ready in just 15 minutes. This recipe truly shines with its simplicity and speed, making it the perfect solution for a quick lunch, a satisfying snack, or even a light dinner when you’re short on time. The combination of fluffy, seasoned rice and savory tuna is a classic for a reason, offering a wonderfully comforting and flavorful experience. It’s also remarkably versatile!
I love serving these onigiri as is, perhaps with a side of miso soup or a simple green salad for a more complete meal. For a picnic, they are an absolute dream! Don’t be afraid to get creative with your variations. Try adding a sprinkle of furikake for extra flavor and texture, or mix in some finely chopped pickled gin extractger for a zesty kick. You could also experiment with different fillings like seasoned salmon or even a bit of creamy mayonnaise. I truly encourage you to give this Japanese Tuna Onigiri recipe a try; I’m confident you’ll find it a fantastic addition to your quick meal repertoire.
Frequently Asked Questions:
Can I make the rice ahead of time?
Absolutely! You can cook your sushi rice and let it cool completely. Store it in an airtight container in the refrigerator for up to 2 days. When you’re ready to make your onigiri, gently reheat the rice in the microwave or briefly steam it to soften it up. This makes the process even faster on busy days!
What kind of tuna is best for onigiri?
Canned tuna packed in oil or water works wonderfully. For the classic Japanese Tuna Onigiri flavor, many people prefer to drain it well and then mix it with Japanese mayonnaise (like Kewpie), a touch of soy sauce, and sometimes a pinch of sugar. This creates a rich, umami-packed filling that’s perfect for these rice balls.
15-min. Easy Japanese Tuna Onigiri
Quick and simple Japanese tuna onigiri, perfect for a light meal or snack. Uses readily available ingredients and minimal prep time.
Ingredients
-
2 sheets nori (or 1/2 sheet)
-
1 tsp sesame seeds
-
2 cups cooked short grain rice
-
1/2 tsp salt
-
5.29 oz canned tuna (in oil or water)
-
2 tbsp Japanese mayo
Instructions
-
Step 1
Drain the canned tuna thoroughly. In a small bowl, flake the tuna with a fork. -
Step 2
Add the Japanese mayonnaise and salt to the tuna. Mix well until combined. -
Step 3
Wet your hands with water to prevent rice from sticking. Take a portion of cooked rice (about 1/2 cup) and place it in your palm. -
Step 4
Make an indentation in the center of the rice and add about 1-2 tablespoons of the tuna mixture. -
Step 5
Gently shape the rice around the filling, forming a triangle or round ball. Repeat with remaining rice and filling. -
Step 6
Cut the nori sheets into strips. Wrap a strip of nori around the bottom of each onigiri. -
Step 7
Garnish with sesame seeds, if desired.
Important Information
Nutrition Facts (Per Serving)
It is important to consider this information as approximate and not to use it as definitive health advice.
Allergy Information
Please check ingredients for potential allergens and consult a health professional if in doubt.