Red White Blue Dirt Cups Easy Patriotic Dessert
Red, White and Blue Dirt Cups are an absolute showstopper, especially when the patriotic holidays roll around or when we’re just feeling a little bit festive! I absolutely adore these treats because they tap into that childhood nostalgia so perfectly. Who doesn’t remember diggin extractg into a delicious, chocolatey “dirt” cup topped with colorful candies? These Red, White and Blue Dirt Cups take that beloved classic and give it a vibrant, summery twist that’s as visually appealing as it is utterly delicious. What makes them truly special is their incredible versatility; they’re perfect for a backyard BBQ, a Fourth of July picnic, or even just a fun afternoon activity with the kids. The simple layers of crushed cookies, creamy pudding, and sweet, fruity toppings create a delightful textural and flavor experience that everyone, from toddlers to grandparents, will rave about. Let’s get diggin extractg into this easy and delightful recipe!
This is a perfect dessert for any patriotic celebration or just a fun treat to make with the kids! Red, White, and Blue Dirt Cups are a playful twist on the classic dirt cup, incorporating festive colors to celebrate holidays like the Fourth of July, Memorial Day, or even just a summer barbecue. The combination of creamy pudding, crunchy Oreo “dirt,” and chewy gummy worms is always a hit, and with these vibrant colors, they’re as visually appealing as they are delicious. Making them is super simple, and the results are always impressive. Get ready to impress your guests with this easy and fun dessert!
Ingredients:
Making the Pudding Base
The first step in creating our delightful Red, White, and Blue Dirt Cups is to prepare the pudding. You’ll want to grab a large mixing bowl for this. Carefully open your two boxes of cheesecake pudding and pour the powder into the bowl. Now, it’s time for the milk. Measure out your 4 cups of cold milk and pour it over the pudding mix. Using a whisk, vigorously mix the pudding powder and milk together. You’ll want to whisk until the mixture starts to thicken. This usually takes about 2 minutes of steady whisking. It’s important to get it smooth and lump-free. Once you see it begin extractning to set, cover the bowl tightly with plastic wrap. Make sure the plastic wrap is directly touching the surface of the pudding. This prevents a skin from forming. Now, pop this bowl into the refrigerator. You’ll need to let it chill for at least 4 hours, or ideally, overnight. This chilling time is crucial for the pudding to set up properly and develop that wonderfully creamy texture. Don’t be tempted to rush this step; a well-set pudding is the foundation of a perfect dirt cup.
Preparing the “Dirt”
While the pudding is chilling, we can get our “dirt” ready. This is where the Oreo cookies come in. You’ll need a food processor or a sturdy Ziploc bag for this step. If you’re using a food processor, simply place all 19 Oreo cookies (cream filling and all!) into the processor and pulse until they are finely crushed. You’re aiming for a crum extractbly texture that resembles soil. If you don’t have a food processor, no worries! Place the Oreos in a large, heavy-duty Ziploc bag. Seal the bag tightly, making sure to press out as much air as possible. Then, using a rolling pin or even the bottom of a heavy pot, gently but firmly crush the cookies until you achieve the desired crum extractbly consistency. Be careful not to over-crush them into a powder; you want some texture. Once your Oreos are crushed, set them aside. This will be our delicious, chocolatey “dirt.”
Coloring the Pudding
Now for the fun, patriotic part – adding the colors! This is where we create our red and blue layers. You’ll need to divide your chilled, thickened cheesecake pudding into three equal portions. You can do this by eye or by using a kitchen scnon-alcoholic ale for absolute precision. Take one of the portions and place it in a separate bowl. Add ¼ teaspoon of red gel food dye to this portion. Gel food coloring is fantastic because it’s highly concentrated and won’t water down your pudding. Mix the red dye thoroughly until the pudding is a vibrant, uniform red color. Then, take another portion of the pudding and place it in a third bowl. Add ¼ teaspoon of blue gel food dye to this portion. Mix this thoroughly until you achieve a rich, blue hue. The third portion of pudding will remain its natural white color, representing the “white” in our Red, White, and Blue Dirt Cups. Make sure to rinse your whisk or use separate ones for each color to avoid any color contamination.
Assembling the Dirt Cups
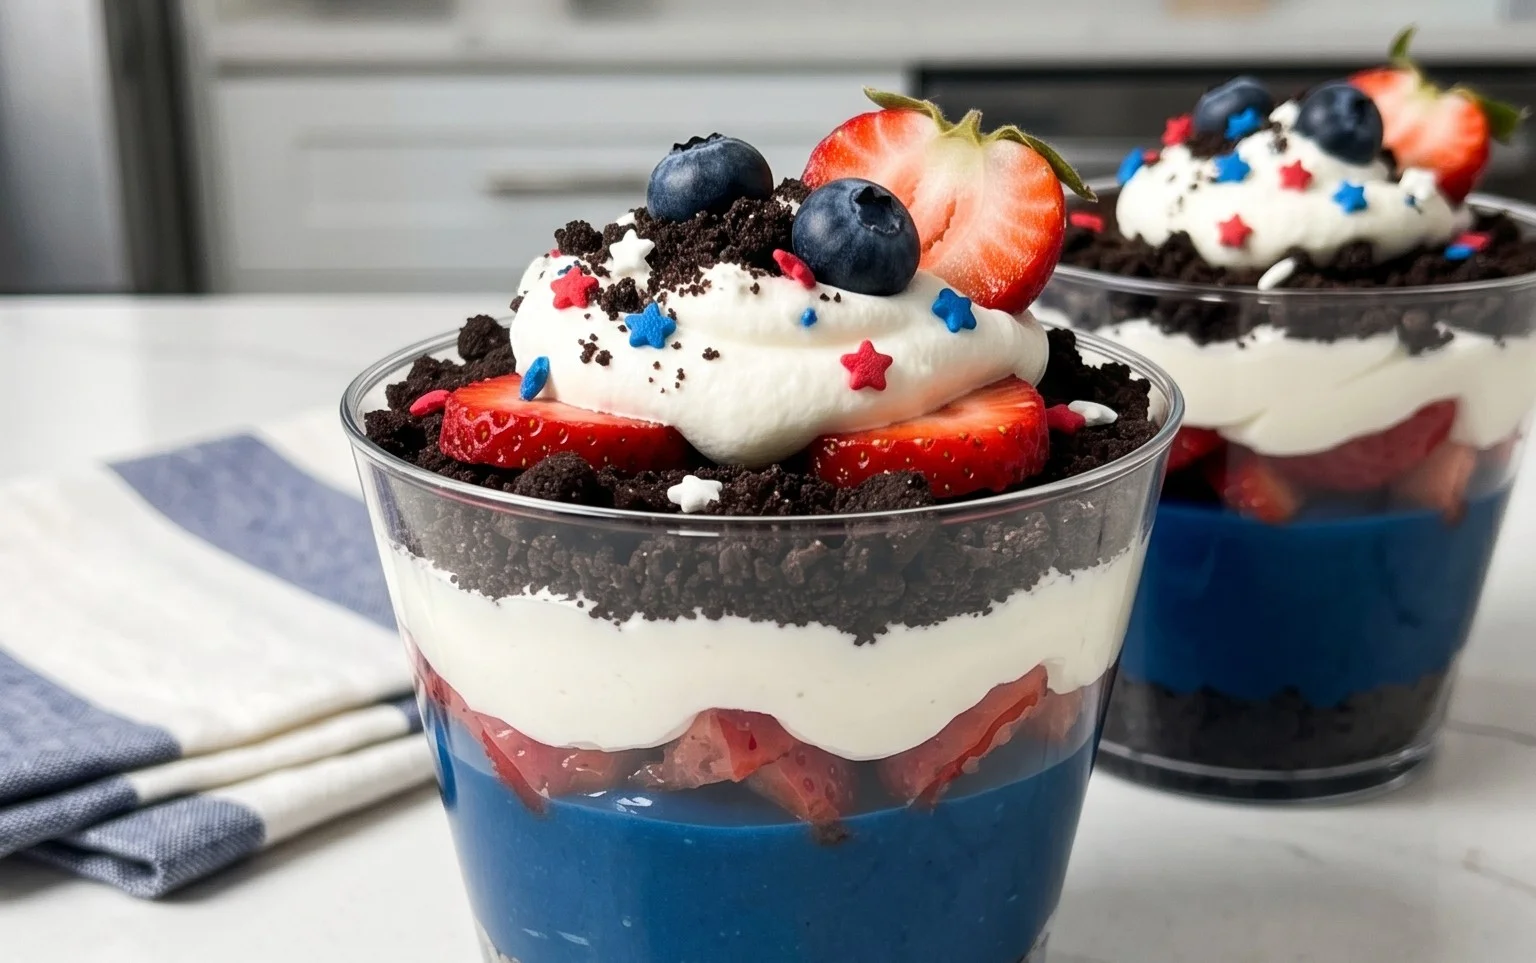
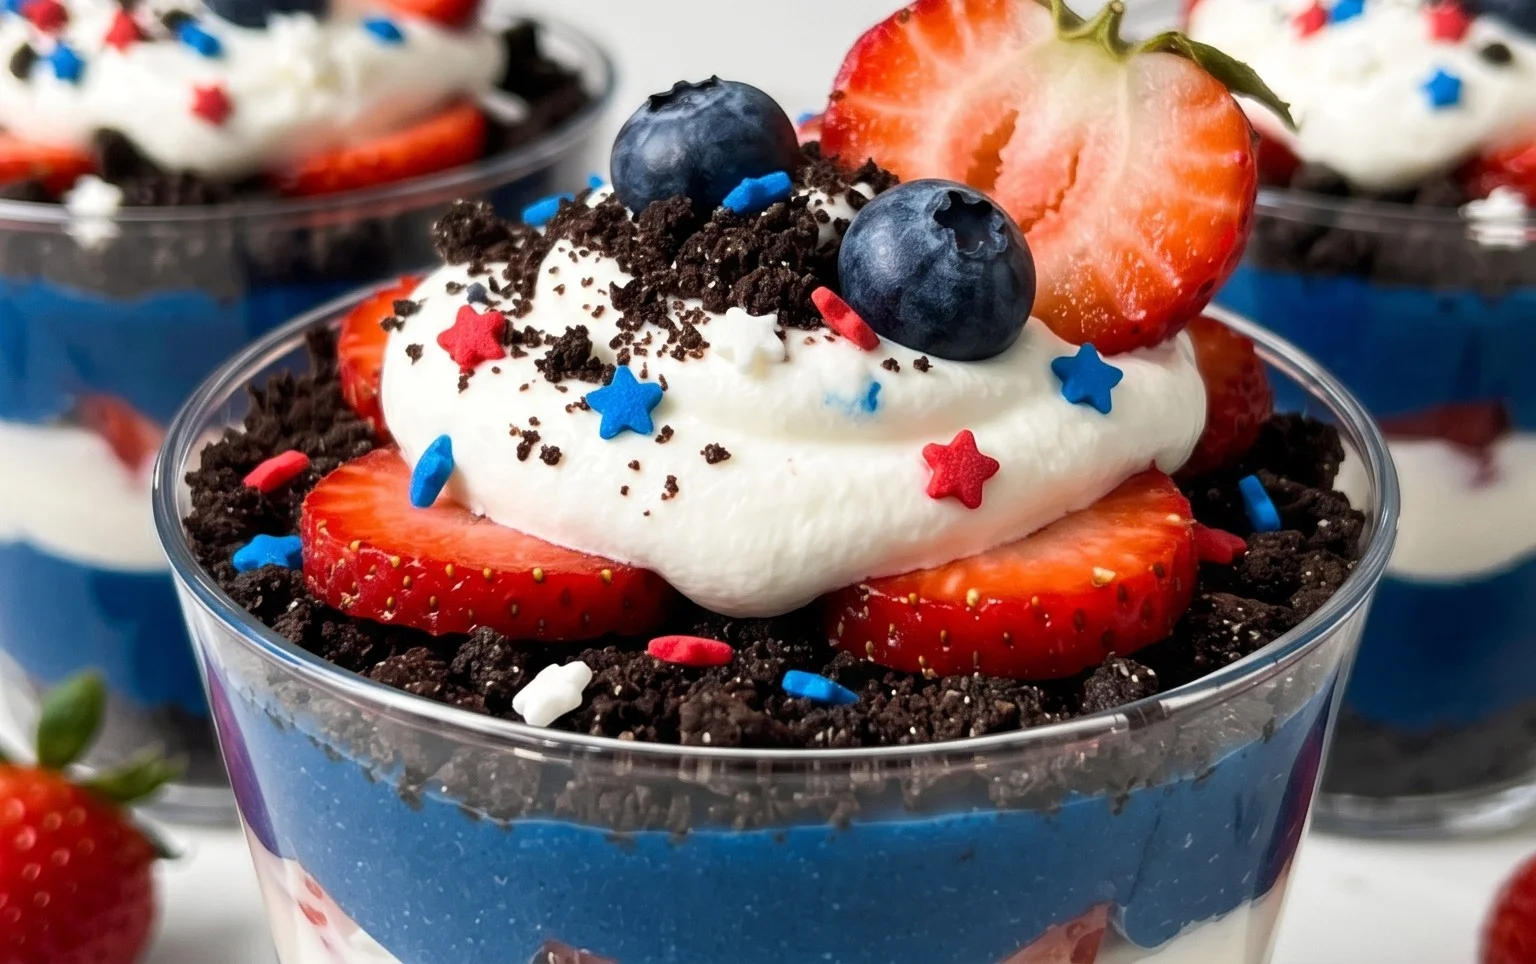
It’s time to assemble these festive treats! You can use individual clear cups, small jars, or even a trifle dish for this. The clear containers really show off the beautiful layers. Start by spooning a layer of the white pudding into the bottom of each cup. You want a good, even layer. Next, sprinkle a generous layer of your crushed Oreo “dirt” over the white pudding. Now, carefully spoon a layer of the red pudding on top of the Oreo layer. Follow this with another layer of the Oreo “dirt.” Finally, add the blue pudding as the top layer. You can finish the very top with a final dusting of Oreo crum extractbs if you like, or leave it as a smooth blue surface. This layered approach creates a visually stunning effect that mimics the colors of the flag.
Adding the Finishing Touches
The final step is to add our festive gummy worms! Gently push the red and blue gummy worms into the top layer of pudding in each cup. You can have them peeking out from the “dirt” like they’re crawling out, or simply arrange them decoratively on top. This adds a playful and fun element to your dirt cups. For an extra touch of patriotism, you could even add a small paper flag to the top of each cup. Once assembled, it’s a good idea to place the finished dirt cups back in the refrigerator for at least 30 minutes before serving. This allows the layers to meld slightly and ensures they are nice and chilled for your guests to enjoy. These Red, White, and Blue Dirt Cups are not only incredibly easy to make but also a showstopper that will be a hit at any gathering. Enjoy!
Conclusion:
And there you have it! These Red, White and Blue Dirt Cups are an absolute showstopper, perfect for any patriotic celebration or just when you’re craving a fun and delicious treat. Their playful presentation and crowd-pleasing flavors make them incredibly versatile. I love how simple they are to assemble, allowing even the most novice bakers to create something impressive. They are a fantastic way to bring a smile to faces, especially during summer holidays like the Fourth of July or Memorial Day.
For serving, these dirt cups are fantastic on their own, but you can elevate them further by serving them chilled. They are also wonderful as part of a larger dessert spread or even as a fun activity for kids to help assemble. Don’t be afraid to get creative with variations! You could swap out the chocolate pudding for vanilla or even cheesecake pudding for a different flavor profile. Consider adding a sprinkle of edible glitter for extra sparkle, or using different colored candies to create even more vibrant layers. I truly encourage you to give this recipe a try – it’s guaranteed to be a hit!
Frequently Asked Questions:
Can I make these Red, White and Blue Dirt Cups ahead of time?
Absolutely! In fact, I highly recommend making them a few hours ahead of time. This allows the pudding to set properly and the flavors to meld together. Just cover them tightly with plastic wrap and refrigerate until ready to serve. They usually hold up well for 2-3 days.
What are some other topping ideas besides gummy worms and sprinkles?
You have so many options! Besides the classic gummy worms and sprinkles, consider adding crushed Oreos for extra chocolatey goodness, chocolate chips, mini M&Ms in red, white, and blue, or even a dollop of whipped cream on top before adding the final candy. A few fresh berries like raspberries or blueberries can also add a nice touch.
Are there any dairy-free or vegan options for this recipe?
Yes, you can easily adapt this recipe! Use a dairy-free chocolate pudding mix and prepare it with plant-based milk, such as almond, soy, or oat milk. For the whipped topping, there are several excellent dairy-free whipped creams available. Ensure your cookie crum extractbs are also vegan-friendly, as most chocolate sandwich cookies contain dairy.
Red, White and Blue Dirt Cups
Festive and fun no-bake dessert cups layered with creamy cheesecake pudding, crushed Oreos, and colorful gummy worms, perfect for patriotic celebrations.
Ingredients
-
2 boxes cheesecake pudding (3.4 ounces each)
-
4 cups milk
-
19 Oreo cookies (crushed)
-
1/4 teaspoon red gel food dye
-
1/4 teaspoon blue gel food dye
-
8 red and blue gummy worms
Instructions
-
Step 1
In a large bowl, whisk together the cheesecake pudding mixes and milk until well combined and slightly thickened. -
Step 2
Divide the pudding mixture into three separate bowls. Leave one bowl plain for the white layer. -
Step 3
Add the red gel food dye to the second bowl of pudding and stir until evenly colored. Add the blue gel food dye to the third bowl of pudding and stir until evenly colored. -
Step 4
In the bottom of 8 small serving cups or jars, place a layer of crushed Oreo cookies, resembling dirt. -
Step 5
Spoon alternating layers of the white, red, and blue pudding over the cookie crumbs in each cup. -
Step 6
Top each dirt cup with more crushed Oreo cookies and a red and blue gummy worm, making them look like they are crawling out of the dirt. -
Step 7
Chill the dirt cups in the refrigerator for at least 10 minutes before serving to allow the pudding to set further.
Important Information
Nutrition Facts (Per Serving)
It is important to consider this information as approximate and not to use it as definitive health advice.
Allergy Information
Please check ingredients for potential allergens and consult a health professional if in doubt.