Crispy Baked Zucchini Chips – Easy Healthy Snack
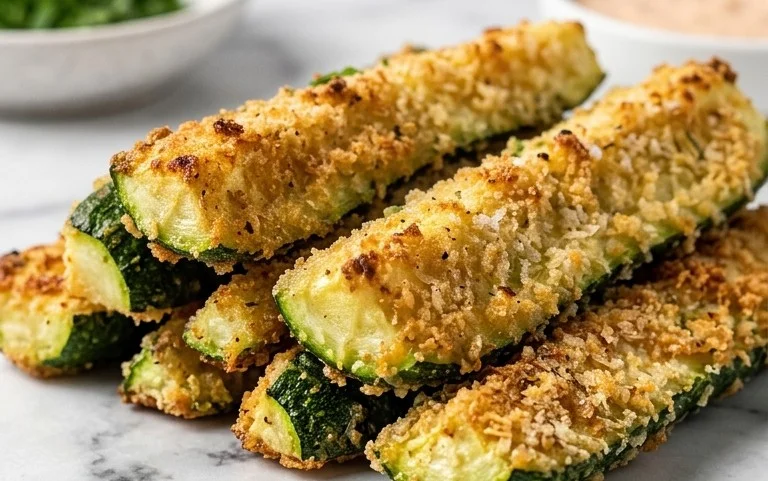
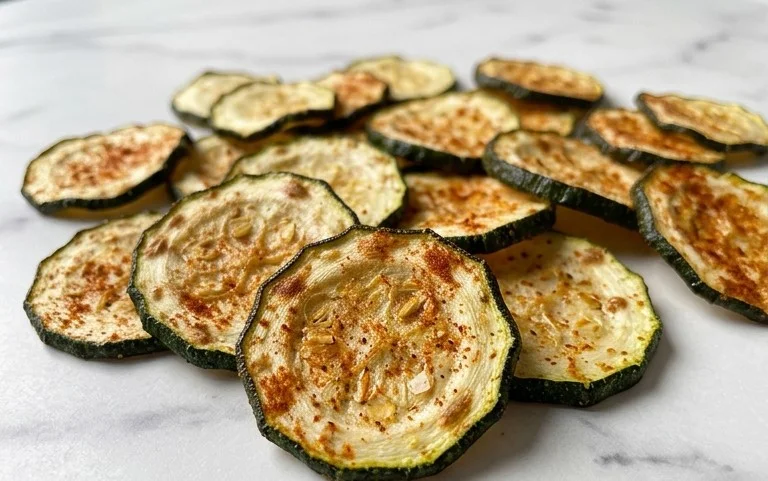
Baked zucchini chips are a revelation! Forget those greasy, fried versions that leave you feeling weighed down. I’m talking about a crispy, savory, and surprisingly guilt-free snack that’s become an absolute staple in my kitchen. What’s not to love about them? They offer that satisfying crunch we all crave in a chip, but with a fresh, vibrant flavor that’s uniquely zucchini. The magic of these baked zucchini chips lies in their simplicity and versatility. Whether you’re looking for a healthy party appetizer, a midday pick-me-up, or a way to use up an abundance of summer squash, this recipe delivers. They’re incredibly easy to prepare, transforming humble zucchini into golden, delicious discs of pure joy. Get ready to discover your new favorite healthy indulgence!
Baked Zucchini Chips
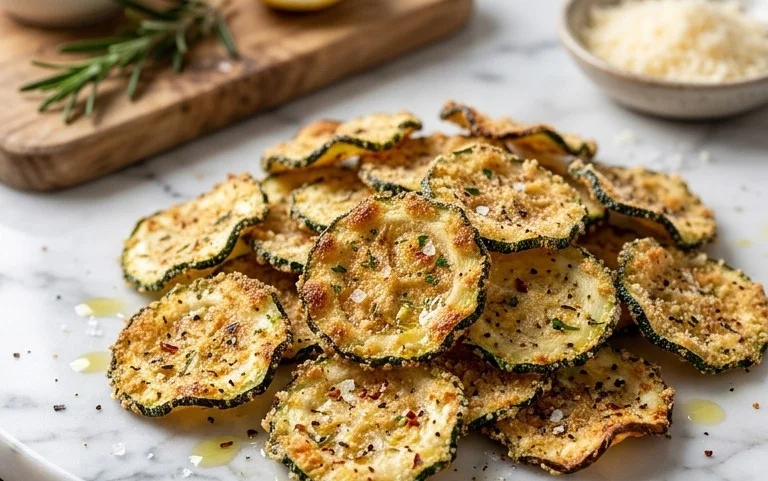
Looking for a healthy and delicious way to enjoy zucchini? These baked zucchini chips are the perfect solution! Forget greasy fried snacks; these chips offer a satisfying crunch and incredible flavor with a fraction of the guilt. They’re incredibly easy to make, making them a fantastic option for a quick appetizer, a healthy side dish, or even a fun snack for kids. The natural goodness of zucchini, combined with savory parmesan and a hint of spice, creates a chip that’s surprisingly addictive. I love how versatile they are too – serve them with your favorite dips or enjoy them plain.
Ingredients:
Instructions:
Prepare the Zucchini: The first step to achieving perfectly crispy zucchini chips is to properly prepare the zucchini. Wash your two medium zucchini thoroughly under cool running water. Pat them completely dry with a clean kitchen towel or paper towels. This is a crucial step because excess moisture will steam the zucchini instead of allowing it to crisp up in the oven. Next, you’ll want to slice them into uniform rounds. Aim for a thickness of about 4-5 millimeters. You can use a sharp knife and a steady hand, or for the most consistent results, a mandoline slicer is an excellent tool. Be very careful when using a mandoline, as they are incredibly sharp. Ensure all your slices are roughly the same thickness so they cook evenly.
Dry and Season the Slices: Once all your zucchini slices are cut, it’s time to get them ready for their flavorful coating. Lay the zucchini rounds out in a single layer on a clean kitchen towel or a few layers of paper towels. Gently pat the tops of the slices to absorb any residual moisture. You might be surprised at how much water comes off! In a medium bowl, combine the grated parmesan cheese, garlic powder, paprika, and salt. If you’re using black pepper, add it to this mixture as well. Stir everything together until well combined.
Coat the Zucchini: Now for the fun part – coating the zucchini slices! In a separate bowl, pour the 1/4 cup of olive oil. Working in batches, add the dried zucchini rounds to the olive oil, tossing gently to coat each slice. Make sure each piece is lightly coated in oil. Then, using your hands or a fork, carefully transfer the oiled zucchini slices to the bowl with the parmesan cheese mixture. Toss the slices in the cheese mixture until they are thoroughly coated on both sides. Gently press the cheese onto the zucchini to ensure it adheres well. Don’t overcrowd the bowl; this will help ensure an even coating for all your chips.
Arrange for Baking: Preheat your oven to 400 degrees Fahrenheit (200 degrees Celsius). Line two large baking sheets with parchment paper. This prevents sticking and makes for easy cleanup. Arrange the coated zucchini slices in a single layer on the prepared baking sheets. It is extremely important that the slices do not overlap. Overlapping will cause them to steam rather than crisp, and you won’t achieve that delightful crunch. You may need to use more than two baking sheets, or bake in batches, to ensure ample space between each chip. Give them a little breathing room!
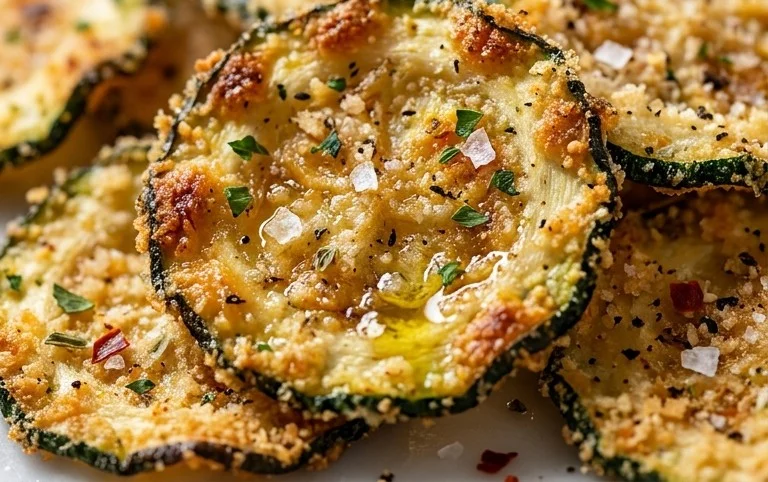
Bake to Crispy Perfection: Place the baking sheets in the preheated oven. Bake for 10-15 minutes. Then, carefully flip each zucchini chip using a spatula. Continue baking for another 8-12 minutes, or until the edges are golden brown and the chips are crispy. Keep a close eye on them during the last few minutes of baking, as they can go from perfectly crisp to slightly burnt very quickly. Ovens can vary, so the exact baking time might differ slightly. Once they’re done, remove the baking sheets from the oven. Let the chips cool on the baking sheets for a few minutes; they will continue to crisp up as they cool. Serve immediately for the best texture and flavor. These are best enjoyed fresh, but can be stored in an airtight container at room temperature for a day or two if needed, though their crispness will diminish.
Conclusion:
I hope you’ve enjoyed learning how to make these incredibly simple and satisfying Baked Zucchini Chips! This recipe is a winner because it transforms humble zucchini into a crispy, flavorful, and guilt-free snack. It’s a fantastic way to use up an abundance of zucchini, and the minimal ingredients and straightforward baking process make it perfect for begin extractners and busy home cooks alike. The golden-brown perfection and satisfying crunch are truly addictive, offering a healthier alternative to store-bought potato chips.
These baked zucchini chips are wonderfully versatile. Serve them as a light appetizer with your favorite dip, like ranch, hummus, or a zesty aioli. They also make a delightful side dish for burgers, sandwiches, or grilled chicken. Don’t be afraid to experiment with flavor variations! Try adding smoked paprika for a smoky kick, garlic powder and onion powder for an all-around savory flavor, or even a pinch of cayenne pepper for a touch of heat. I truly encourage you to give this recipe a try; I’m confident you’ll be making them again and again!
Frequently Asked Questions:
How do I ensure my baked zucchini chips are crispy and not soggy?
The key to crispy baked zucchini chips is to slice them thinly and evenly. After slicing, it’s crucial to salt them and let them sit for about 10-15 minutes on paper towels to draw out excess moisture. Patting them dry thoroughly before baking also makes a significant difference.
Can I make baked zucchini chips ahead of time?
While they are best enjoyed fresh for maximum crispness, you can bake them a few hours in advance. Store them in a single layer in a loosely covered container at room temperature. Avoid sealing them tightly, as this can trap steam and make them soggy.
What are some other seasoning ideas for these chips?
Beyond the basics, consider adding Italian seasoning for a Mediterranean flair, nutritional yeast for a cheesy flavor without dairy, or even a sprinkle of dried dill for a fresh, herbaceous taste. Don’t be afraid to get creative with your spice rack!
Baked Zucchini Chips
Crispy and flavorful baked zucchini chips, a healthy alternative to potato chips. Perfect for snacking!
Ingredients
-
2 medium zucchini, sliced into rounds (4-5 mm thickness)
-
1/4 cup olive oil
-
2/3 cup grated parmesan cheese
-
1/2 tsp garlic powder
-
1/4 tsp paprika
-
1/2 tsp salt
-
black pepper to taste (optional)
Instructions
-
Step 1
Preheat your oven to 400°F (200°C). Line two baking sheets with parchment paper. -
Step 2
Pat the zucchini slices thoroughly dry with paper towels. This is crucial for crispiness. -
Step 3
In a medium bowl, combine the olive oil, garlic powder, paprika, salt, and black pepper (if using). -
Step 4
Add the dried zucchini slices to the bowl and toss gently to coat each slice evenly with the oil mixture. -
Step 5
Arrange the coated zucchini slices in a single layer on the prepared baking sheets, ensuring they don’t overlap. -
Step 6
Sprinkle the grated parmesan cheese over the zucchini slices. -
Step 7
Bake for 15-20 minutes, or until the edges are golden brown and crispy. Flip the chips halfway through the baking time for even crisping. -
Step 8
Let the zucchini chips cool on the baking sheets for a few minutes before serving. They will crisp up further as they cool.
Important Information
Nutrition Facts (Per Serving)
It is important to consider this information as approximate and not to use it as definitive health advice.
Allergy Information
Please check ingredients for potential allergens and consult a health professional if in doubt.