Crispy Chewy Chocolate Chip Cookies Perfected
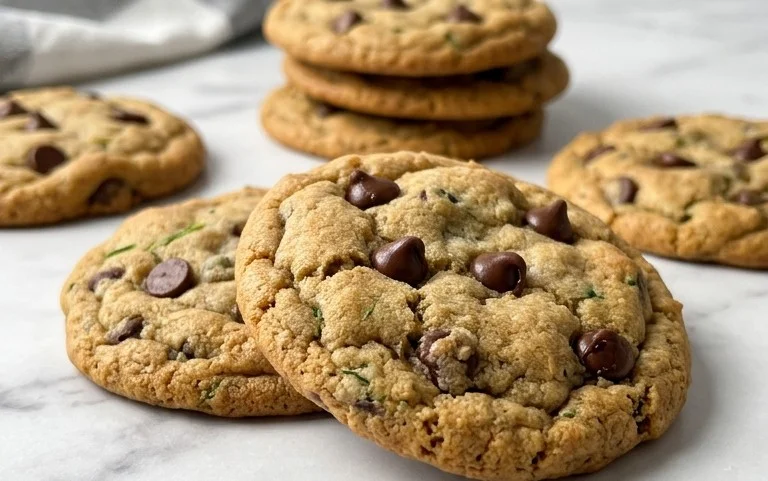
Crispy and chewy chocolate chip cookies are more than just a dessert; they’re a nostalgic journey to childhood, a warm hug in cookie form, and the ultimate comfort food. Who among us hasn’t dreamt of biting into a cookie that boasts that perfect balance – a delightful crunch on the edges giving way to a wonderfully soft, gooey center, all studded with melty pockets of rich chocolate? It’s this irresistible textural interplay, combined with that quintessential sweet, buttery flavor, that makes crispy and chewy chocolate chip cookies a universally adored classic. What elevates these cookies from simply delicious to truly extraordinary is mastering that delicate dance between crisp edges and a tender, yielding crum extractb. Today, we’re going to unlock the secrets to achieving that bakery-quality perfection right in your own kitchen, ensuring every bite is a moment of pure, unadulterated bliss. Get ready to bake the best crispy and chewy chocolate chip cookies you’ve ever tasted!
Crispy and Chewy Chocolate Chip Cookies
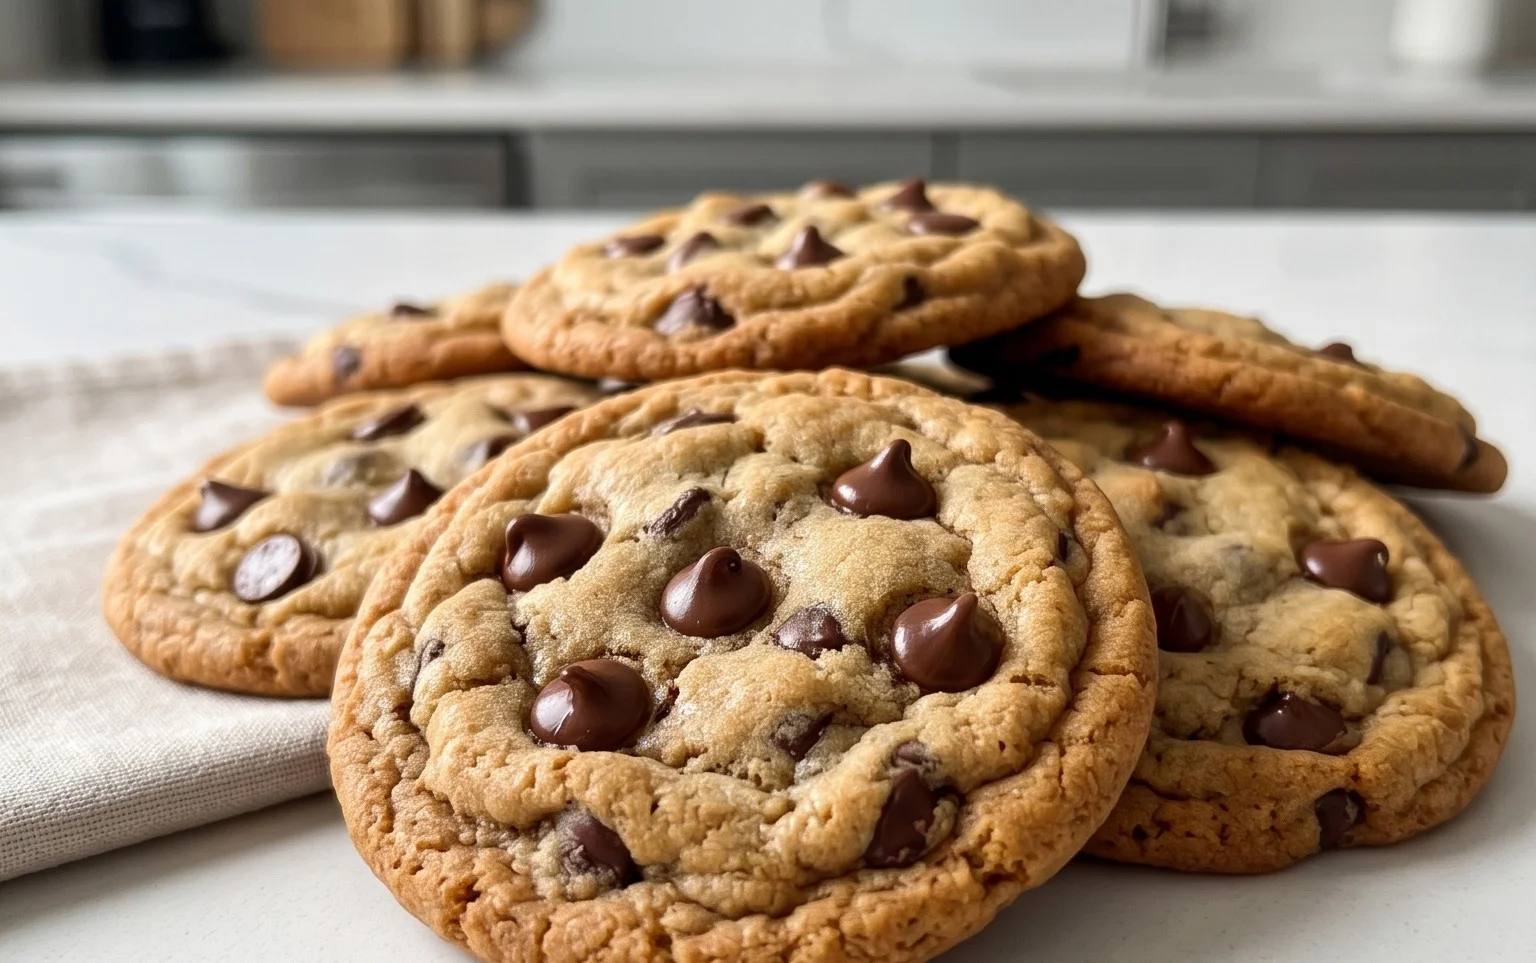
There’s something undeniably magical about a perfect chocolate chip cookie. It’s a comforting classic, a reliable treat that can brighten any day. For me, the ultimate chocolate chip cookie strikes that exquisite balance: a slightly crispy edge that gives way to a wonderfully chewy center, studded with pools of melted chocolate. Achieving this perfect texture isn’t a secret, but it does involve a few key techniques and the right ingredients. Today, I’m going to share my go-to recipe that consistently delivers these delightful cookies, every single time.
Ingredients:
Getting Started: The Foundation of Flavor and Texture
The journey to perfect cookies begin extracts with preparation. Before you even think about mixing, preheat your oven to 375°F (190°C). This ensures that the moment your cookies hit the baking sheet, they begin extract to bake evenly. Next, line two baking sheets with parchment paper. This is crucial for preventing sticking and for achieving that desirable crispy bottom. Parchment paper also makes cleanup a breeze, which is always a win in my book.
Now, let’s talk about the dry ingredients. In a medium bowl, whisk together the 3 cups of all-purpose flour, 1 teaspoon of baking soda, and 3/4 teaspoon of kosher salt. Whisking thoroughly ensures that the leavening agent (baking soda) and the salt are evenly distributed throughout the flour. This is a small step, but it has a big impact on the final texture and flavor of your cookies, preventing pockets of saltiness or a lack of lift.
The Creaming Process: Where Sweetness and Structure Unite
In a large bowl, or the bowl of your stand mixer fitted with the paddle attachment, cream together the 2 sticks of softened unsalted butter, 1 cup of light brown sugar (packed tightly), and 1 cup of granulated sugar. This is arguably the most important step for achieving both chegrape juicess and structure. You want to beat these ingredients together until they are light and fluffy, which typically takes about 3 to 5 minutes. The sugar crystals will cut into the butter, creating tiny air pockets. These air pockets are what give cookies their lift and tender texture. Don’t rush this process; the fluffier the butter and sugar mixture, the better your cookies will be. Scrape down the sides of the bowl occasionally to ensure everything is incorporated.
Once the butter and sugar mixture is light and airy, it’s time to add the eggs. Add the 2 large eggs, one at a time, beating well after each addition until fully incorporated. Then, stir in the 2 teaspoons of pure vanilla extract. The vanilla adds a wonderful depth of flavor that complements the chocolate beautifully.
Bringin extractg It All Together: The Magic of Dough
Now, it’s time to combine the wet and dry ingredients. Gradually add the flour mixture to the butter and sugar mixture, mixing on low speed until just combined. Be careful not to overmix at this stage. Overmixing can develop the gluten in the flour too much, resulting in tough cookies. We’re looking for a dough that just comes together. Once most of the flour is incorporated, it’s time for the star of the show: the chocolate chips!
Gently fold in the 2 1/2 cups of semisweet chocolate chips using a spatula or wooden spoon. I like to reserve a small handful of chocolate chips to press onto the tops of the cookies before baking; this gives them that beautiful, inviting appearance. The dough will be thick and wonderfully studded with chocolate.
Baking to Perfection: The Golden Touch
Using a cookie scoop or two spoons, drop rounded balls of dough onto your prepared baking sheets, leaving about 2 inches between each cookie to allow for spreading. I often use a 1.5-tablespoon cookie scoop for uniformly sized cookies. If you reserved some chocolate chips, now is the time to gently press them onto the tops of the dough balls.
Bake for 9 to 11 minutes, or until the edges are golden brown and the centers still look slightly soft and underbaked. This is key to achieving that chewy center. The cookies will continue to cook and set as they cool on the baking sheet. For an extra touch of elegance and a delightful flavor contrast, lightly sprinkle the hot cookies with the 1 teaspoon of flaked sea salt. This step is optional, but it truly elevates the cookie to another level by balancing the sweetness with a hint of salt.
Let the cookies cool on the baking sheets for 5 minutes before carefully transferring them to a wire rack to cool completely. The initial cooling on the baking sheet allows them to firm up without becoming brittle, while the wire rack ensures even cooling and prevents the bottoms from getting soggy. Enjoy your warm, crispy, and perfectly chewy chocolate chip cookies!
Conclusion:
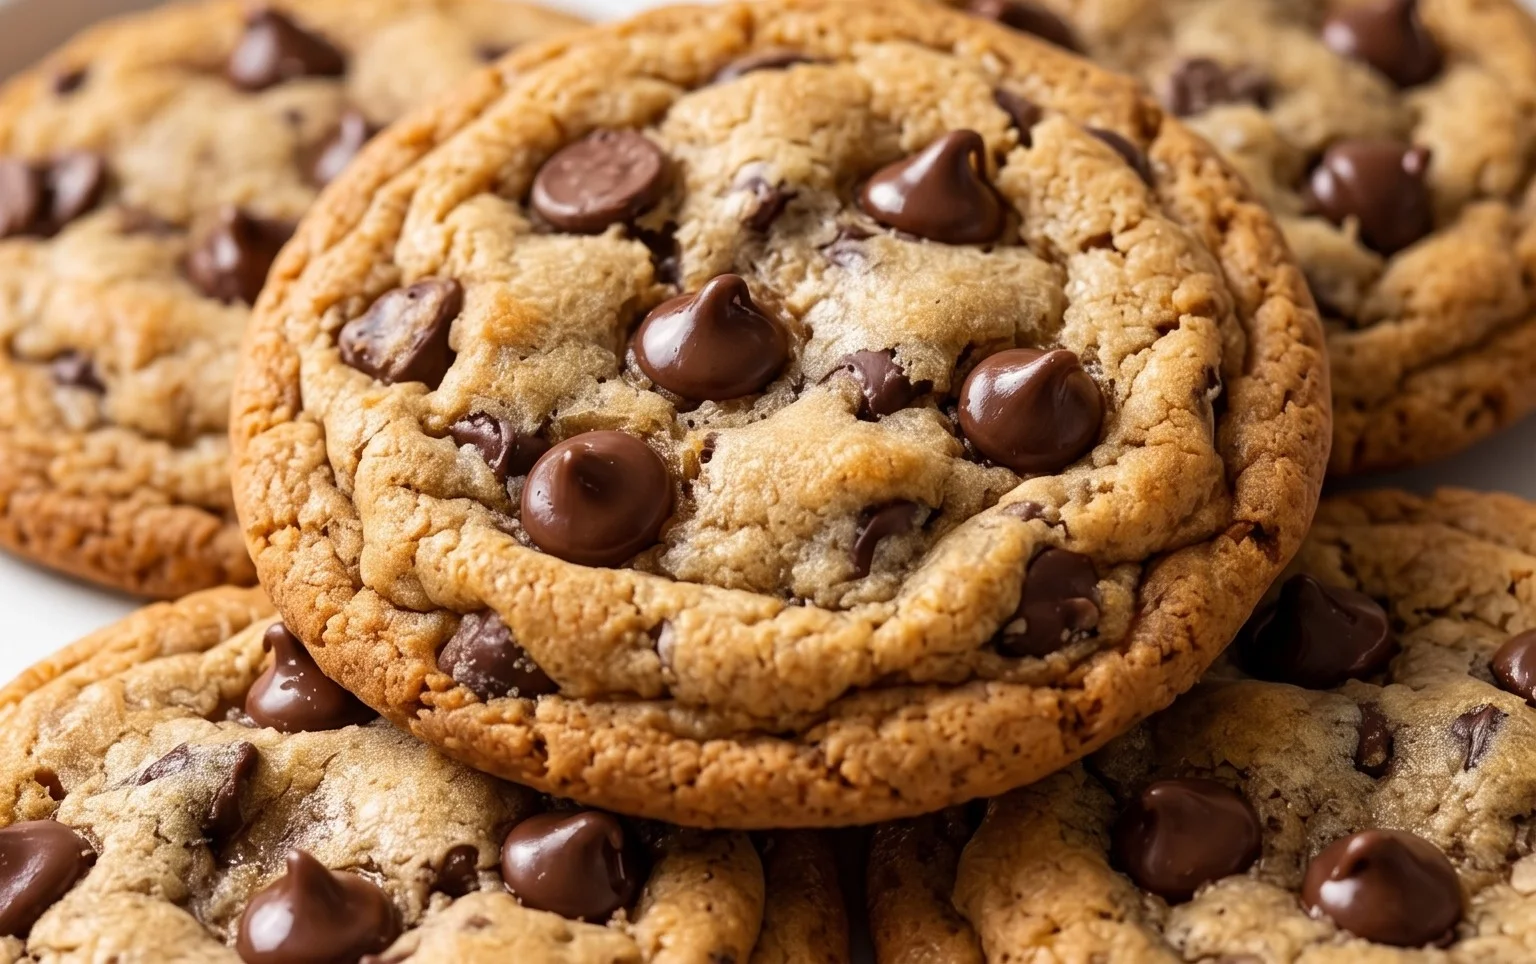
And there you have it! The ultimate guide to achieving those perfect, truly crispy and chewy chocolate chip cookies. This recipe hits all the right notes, offering that delightful contrast of a slightly crisp edge with a wonderfully soft, gooey center. It’s a testament to simple ingredients and a few key techniques that elevate a classic into something truly special. The aroma alone as they bake is enough to make your home feel instantly cozy and inviting. These cookies are incredibly versatile, making them the star of any occasion. Enjoy them warm with a glass of cold milk for pure comfort, crum extractble them over ice cream for an decadent dessert, or package them up as thoughtful homemade gifts. Don’t be afraid to experiment! Try adding a pinch of sea salt on top before baking for an extra flavor pop, or swap in different types of chocolate chips – white chocolate, dark chocolate, or even toffee bits. I encourage you to give this recipe a try; I promise you won’t be disappointed. Happy baking!
Frequently Asked Questions:
Why are my cookies not spreading enough?
If your cookies aren’t spreading, it’s often due to the butter being too cold or too much flour. Make sure your butter is softened but not melted. Also, resist the urge to pack the flour tightly into your measuring cup; spoon it in and level it off. Chilling the dough for a short period can also sometimes help, paradoxically, by allowing the fats to firm up and then melt more evenly in the oven.
Can I make the dough ahead of time?
Absolutely! This dough is fantastic for making ahead. You can store it, covered tightly, in the refrigerator for up to 3 days. Some even say the flavor improves with a longer chill. Just let it sit at room temperature for about 15-20 minutes before scooping and baking for optimal results.
What’s the best way to store these cookies?
To maintain that ideal crispy and chewy texture, store the cooled cookies in an airtight container at room temperature. Adding a slice of bread to the container can help keep them soft and chewy. They’re best enjoyed within 3-4 days, but can also be frozen for longer storage.
Crispy and Chewy Chocolate Chip Cookies
The ultimate chocolate chip cookie recipe, delivering a perfect balance of crispy edges and a chewy center. Easy to make and incredibly satisfying.
Ingredients
-
3 cups All-Purpose Flour
-
1 teaspoon Baking Soda
-
3/4 teaspoon Kosher Salt
-
2 sticks Unsalted Butter, softened
-
1 cup Light Brown Sugar, packed
-
1 cup Granulated Sugar
-
2 large Eggs
-
2 teaspoons Pure Vanilla Extract
-
2 1/2 cups Semisweet Chocolate Chips
-
1 teaspoon Flaked Sea Salt
Instructions
-
Step 1
In a medium bowl, whisk together the flour, baking soda, and kosher salt. Set aside. -
Step 2
In a large bowl, cream together the softened butter, brown sugar, and granulated sugar until light and fluffy. -
Step 3
Beat in the eggs one at a time, then stir in the vanilla extract. -
Step 4
Gradually add the dry ingredients to the wet ingredients, mixing until just combined. Do not overmix. -
Step 5
Stir in the semisweet chocolate chips. -
Step 6
Drop rounded tablespoons of dough onto baking sheets lined with parchment paper, leaving about 2 inches between cookies. Sprinkle with flaked sea salt, if desired. -
Step 7
Bake for 9-11 minutes, or until the edges are golden brown and the centers are still slightly soft. Do not overbake for a chewy center. -
Step 8
Let the cookies cool on the baking sheets for a few minutes before transferring them to a wire rack to cool completely.
Important Information
Nutrition Facts (Per Serving)
It is important to consider this information as approximate and not to use it as definitive health advice.
Allergy Information
Please check ingredients for potential allergens and consult a health professional if in doubt.