Easy Chocolate Protein Pudding-Healthy Dessert
Chocolate protein pudding is about to become your new obsession, and for good reason! If you’re anything like me, you crave that rich, decadent chocolate flavor, but also want to nourish your body with wholesome ingredients. This chocolate protein pudding recipe perfectly bridges that gap, offering a guilt-free indulgence that satisfies your sweet tooth and supports your fitness goals. Forget those chalky, artificial-tasting protein snacks. We’re talking about a dessert so lusciously creamy and deeply chocolatey, you’d never guess it’s packed with protein power. It’s the ideal post-workout treat, a delightful afternoon pick-me-up, or even a healthy dessert that won’t derail your progress. Get ready to whip up a batch of pure bliss that’s as good for you as it tastes!
What Makes This Chocolate Protein Pudding So Special?
It’s incredibly easy to make!
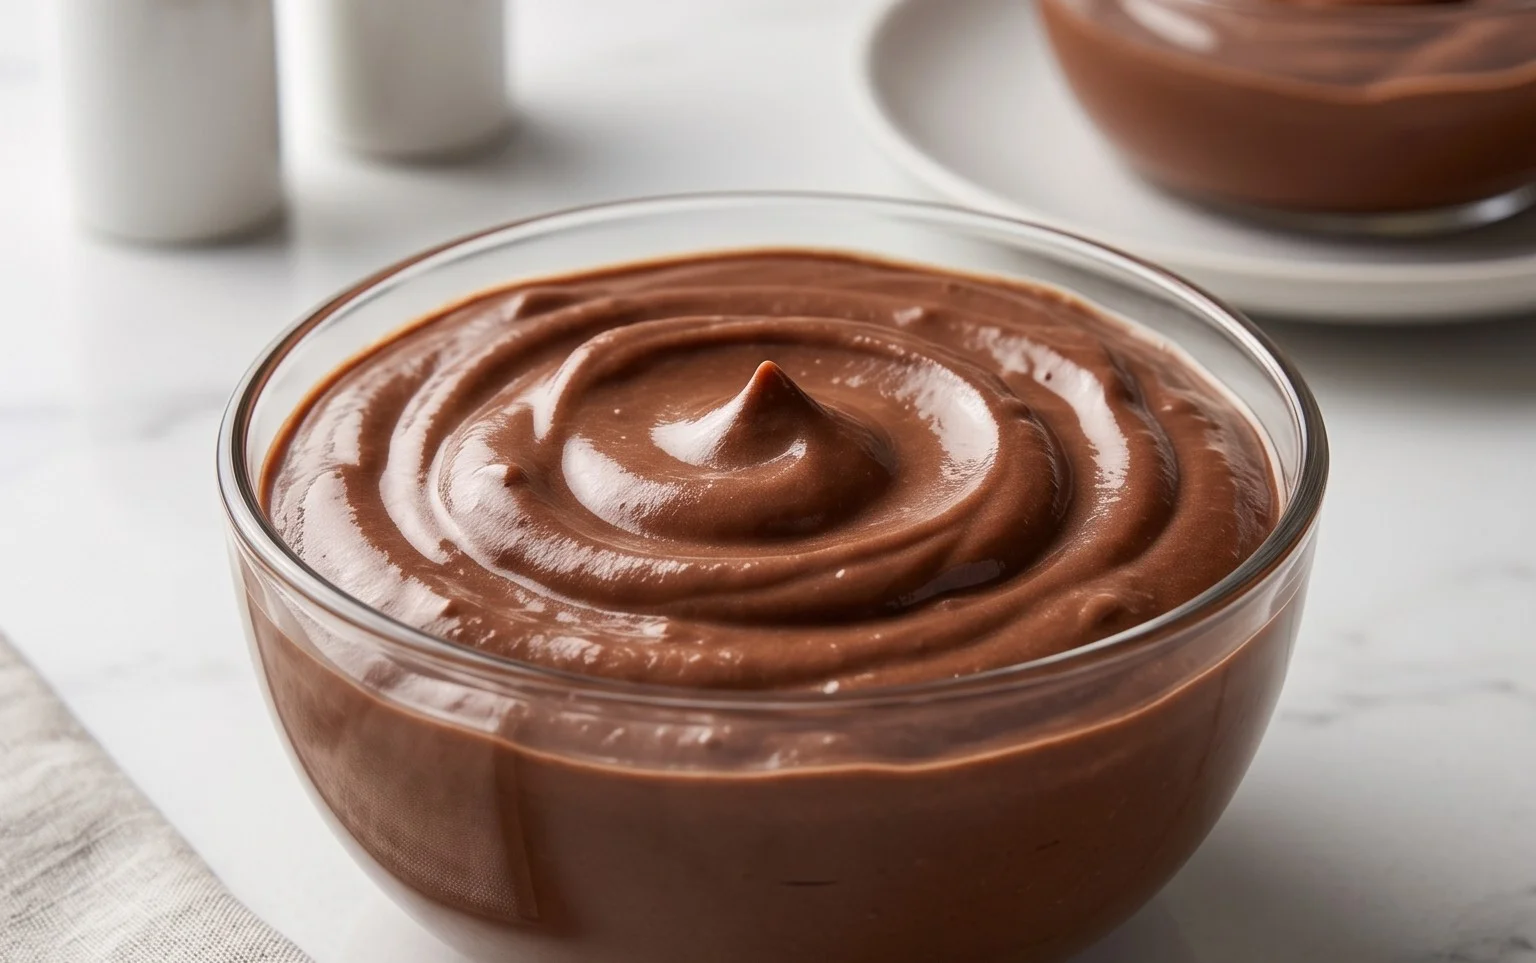
Chocolate Protein Pudding Recipe
Looking for a delicious and healthy way to satisfy your sweet cravings while boosting your protein intake? This Chocolate Protein Pudding is exactly what you need! It’s incredibly easy to make, requires no baking, and is packed with flavor. Whether you’re an athlete looking for post-workout recovery, a busy parent needing a quick snack, or simply someone who loves chocolate, this recipe is a winner. It’s a guilt-free indulgence that will leave you feeling satisfied and energized. Forget those pre-packaged, sugar-laden puddings; this homemade version is a game-changer.
This recipe leverages the creaminess of Greek yogurt and the rich flavor of chocolate to create a truly decadent dessert or snack. The protein powder not only adds a substantial protein punch but also contributes to the thick, pudding-like consistency. The unsweetened cocoa powder ensures an intense chocolate flavor without added sugars, and the touch of maple syrup provides just the right amount of sweetness to balance everything out. Plus, with the vanilla extract, every bite is infused with warm, comforting notes.
The beauty of this recipe lies in its simplicity and versatility. It’s a fantastic base that you can customize with your favorite toppings. Think fresh berries for a burst of freshness, a sprinkle of nuts for added crunch, a dollop of extra Greek yogurt for extra creaminess, or even some shaved dark chocolate for an extra decadent treat. You can also adjust the sweetness to your personal preference by adding more or less maple syrup. This pudding is perfect for portioning out into individual servings for grab-and-go snacks throughout the week.
Let’s get started on creating this delightful treat!
Ingredients:
Cooking Instructions:
This chocolate protein pudding is incredibly straightforward to assemble. There’s no cooking involved, making it perfect for even the most novice cooks. The key is to ensure everything is thoroughly combined to achieve a smooth, lump-free consistency.
Step 1: Prepare Your Workspace and Gather Your Tools
Before you begin extract mixing your ingredients, ensure you have a large mixing bowl, a whisk or electric mixer, and a spatula. It’s also helpful to have your chosen serving dishes ready. I prefer to portion mine into small jars or ramekins for easy storage and serving. This step ensures that once you start mixing, you can proceed smoothly without interruptions. Having everything at hand makes the process much more enjoyable and efficient.
Step 2: Combine the Wet Ingredients and Sweetener
In your large mixing bowl, begin extract by adding the 5 cups of Greek yogurt. If you are using plain Greek yogurt and want a hint of vanilla flavor already present, now is the time to add the 1 teaspoon of vanilla extract. Drizzle in the 2 tablespoons of maple syrup. Gently whisk these ingredients together until they are well incorporated. This initial mixing helps to break down the yogurt slightly and distribute the vanilla and sweetener evenly before introducing the dry ingredients. If you prefer a sweeter pudding, you can add an extra teaspoon of maple syrup at this stage, but I recommend tasting later and adjusting as needed.
Step 3: Introduce the Chocolate Elements
Now it’s time to add the star flavors: the chocolate protein powder and unsweetened cocoa powder. Carefully add the 4 scoops of chocolate protein powder to the bowl. Next, add 3 tablespoons of the unsweetened cocoa powder. If you are a true chocolate aficionado and desire an even richer, more intense chocolate flavor, you can add the 4th tablespoon of cocoa powder now. I often start with 3 tablespoons and then add the 4th after tasting the mixture, just to be sure I’ve hit my desired chocolate intensity. Using a whisk or an electric mixer on low speed, begin extract to incorporate the dry ingredients into the wet mixture.
Step 4: Mix Until Smooth and Creamy
This is where the magic happens. Continue to whisk or mix the ingredients thoroughly. You are looking for a completely smooth and creamy consistency, with no lumps of protein powder or cocoa powder visible. If you are using a whisk, be prepared to put in a little elbow grease. For a faster and easier process, an electric mixer on a low setting is highly recommended. Scrape down the sides of the bowl with your spatula periodically to ensure all ingredients are fully incorporated. If the mixture seems too thick, you can add a tiny splash of milk (dairy or non-dairy) or even a little water, but do so very sparingly to avoid thinning out the pudding too much. The goal is a thick, pudding-like texture.
Step 5: Taste and Adjust Sweetness and Flavor (Optional but Recommended)
Once you have achieved a smooth consistency, it’s time to taste your creation! Dip a clean spoon into the pudding and take a small taste. Assess the sweetness and the chocolate flavor. If you desire it sweeter, add another ½ tablespoon to 1 tablespoon of maple syrup and gently mix it in. If you want a more pronounced chocolate flavor, now is the time to add that final tablespoon of unsweetened cocoa powder if you haven’t already, and mix until fully incorporated. Remember, the flavor will also deepen slightly as it chills.
Step 6: Chill and Serve
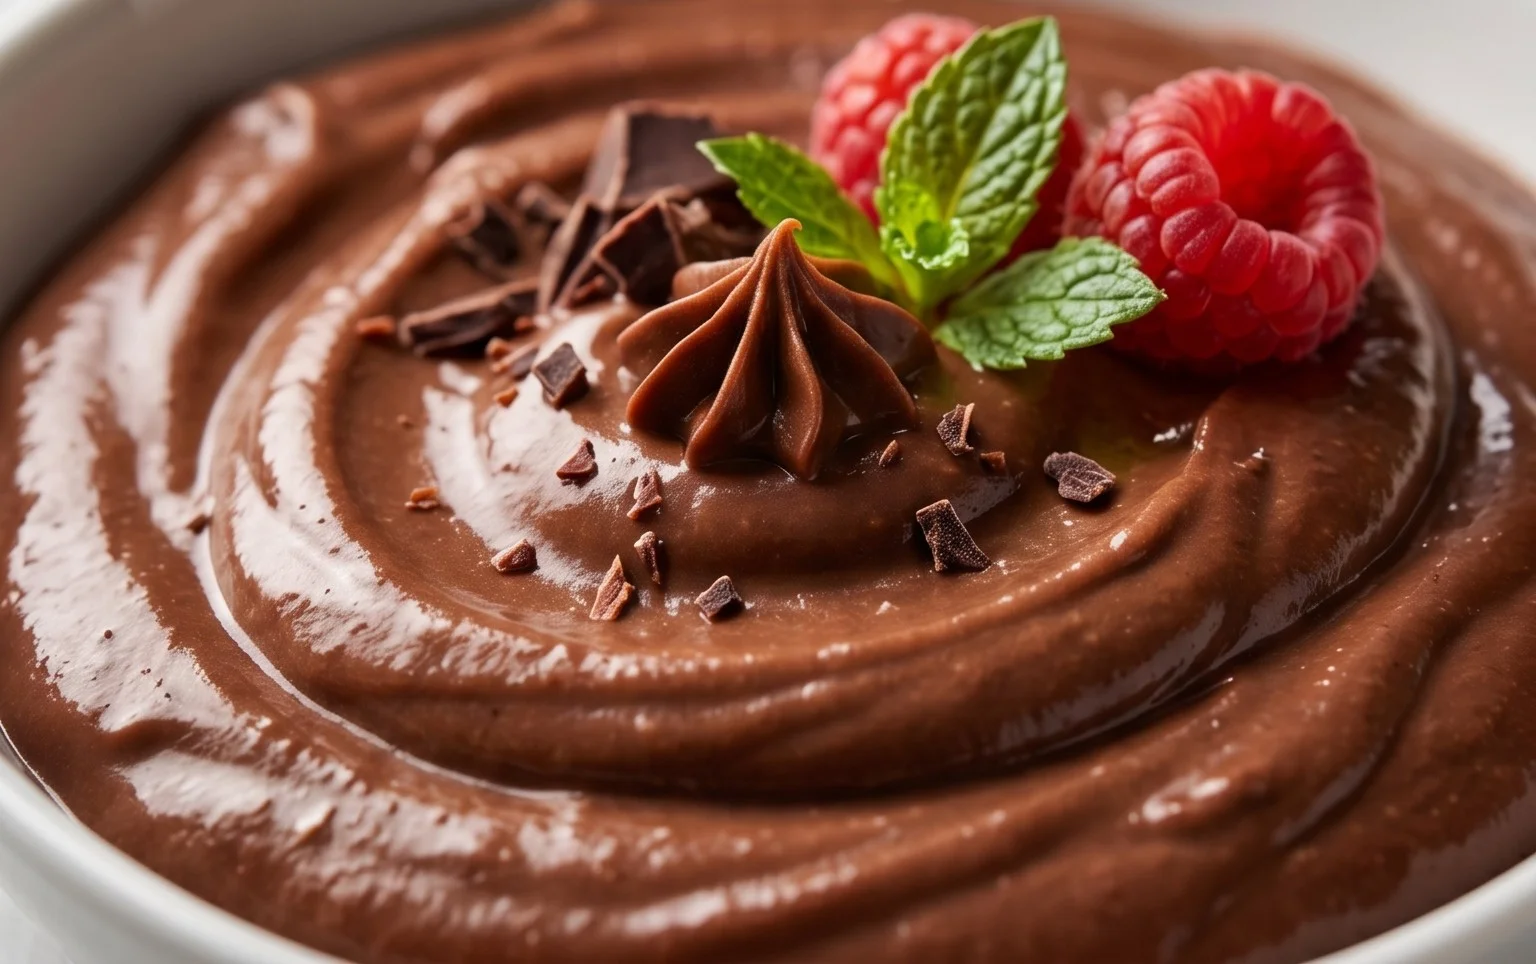
Transfer the chocolate protein pudding into your prepared serving dishes. Cover each dish tightly with plastic wrap or lids. For the best flavor and texture, it’s crucial to chill the pudding in the refrigerator for at least 1 hour, but ideally for 2-3 hours. This chilling period allows the flavors to meld together beautifully and for the pudding to set into its final, luscious consistency. Once chilled, your Chocolate Protein Pudding is ready to be enjoyed! You can serve it as is, or garnish with your favorite toppings. I love adding a few fresh raspberries or a sprinkle of chopped almonds. Enjoy this healthy and delicious treat!
Conclusion:
I hope you’ve enjoyed learning how to make this delicious and incredibly satisfying Chocolate Protein Pudding recipe! It’s a fantastic option for anyone looking for a healthy, protein-packed dessert or snack that doesn’t compromise on flavor. The simplicity of the ingredients and the ease of preparation make it a go-to for busy days, and the rich chocolate taste is sure to please even the most discerning sweet tooth. Whether you’re a fitness enthusiast looking for post-workout recovery or simply craving a guilt-free treat, this pudding delivers.
Feel free to get creative with your serving suggestions! I love topping mine with fresh berries like raspberries or strawberries for a burst of freshness, a sprinkle of chopped nuts for added crunch, or even a dollop of Greek yogurt for extra creaminess and protein. For variations, you can experiment with different types of protein powder – whey, casein, or plant-based options all work wonderfully. You could also add a dash of cinnamon or a touch of espresso powder to the mixture for a different flavor profile. Don’t be afraid to make this recipe your own!
I highly encourage you to give this Chocolate Protein Pudding a try. It’s a simple yet effective way to enjoy a decadent dessert while supporting your health and fitness goals. Let me know in the comments how you enjoyed yours!
Frequently Asked Questions:
Can I make this recipe ahead of time?
Absolutely! This Chocolate Protein Pudding is perfect for meal prepping. You can make a batch and store it in individual containers in the refrigerator for up to 3-4 days. The flavors often meld and deepen over time, making it even more delicious!
What kind of protein powder is best?
You can use your favorite protein powder! Whey protein will give you a smooth texture, while casein protein tends to create a thicker pudding. Plant-based options like pea or brown rice protein are also excellent choices for a vegan version. Just be aware that the flavor and consistency might vary slightly depending on the brand and type you use.
Is this recipe suitable for diabetics?
This recipe can be made diabetic-friendly by carefully selecting your ingredients. Opt for a sugar-free protein powder and use a natural, zero-calorie sweetener like stevia or erythritol instead of honey or maple syrup. Always consult with your healthcare provider for personalized dietary advice.
Chocolate Protein Pudding Recipe
A quick and easy recipe for a rich and satisfying chocolate protein pudding, perfect for a healthy dessert or post-workout snack.
Ingredients
-
5 cups Greek yogurt (full-fat, plain or vanilla)
-
4 scoops chocolate protein powder
-
3 to 4 tablespoons unsweetened cocoa powder
-
1 teaspoon vanilla extract
-
2 tablespoons maple syrup
Instructions
-
Step 1
In a large bowl, combine the Greek yogurt, chocolate protein powder, unsweetened cocoa powder, vanilla extract, and maple syrup. -
Step 2
Whisk all ingredients together until thoroughly combined and smooth. Ensure there are no lumps of protein powder or cocoa. -
Step 3
Taste the pudding and adjust sweetness if desired by adding a little more maple syrup or a sugar substitute. -
Step 4
Spoon the pudding into individual serving bowls or ramekins. -
Step 5
Chill in the refrigerator for at least 30 minutes to allow the pudding to thicken and flavors to meld before serving. -
Step 6
Optional: Garnish with fresh berries, a sprinkle of cocoa powder, or a dollop of extra Greek yogurt.
Important Information
Nutrition Facts (Per Serving)
It is important to consider this information as approximate and not to use it as definitive health advice.
Allergy Information
Please check ingredients for potential allergens and consult a health professional if in doubt.