Easy French Macaron Recipe – Bake Perfect Delights
French macarons, those delicate, jewel-toned meringue cookies with a creamy filling, are a true delight. For many, the very thought of a perfect French macaron conjures images of Parisian patisseries and sophisticated indulgence. What is it about these seemingly simple cookies that captures our hearts and taste buds so completely? It’s their ethereal texture – a crisp shell yielding to a chewy interior – and their endless flavor possibilities that make them so captivating. The vibrant colors are almost as irresistible as the first bite. Learning to make authentic French macarons at home might seem daunting, but with the right guidance and a little patience, you too can create these exquisite treats. I’m thrilled to share my foolproof French macaron recipe with you, designed to bring that touch of elegance and pure joy into your own kitchen.
French Macaron Recipe
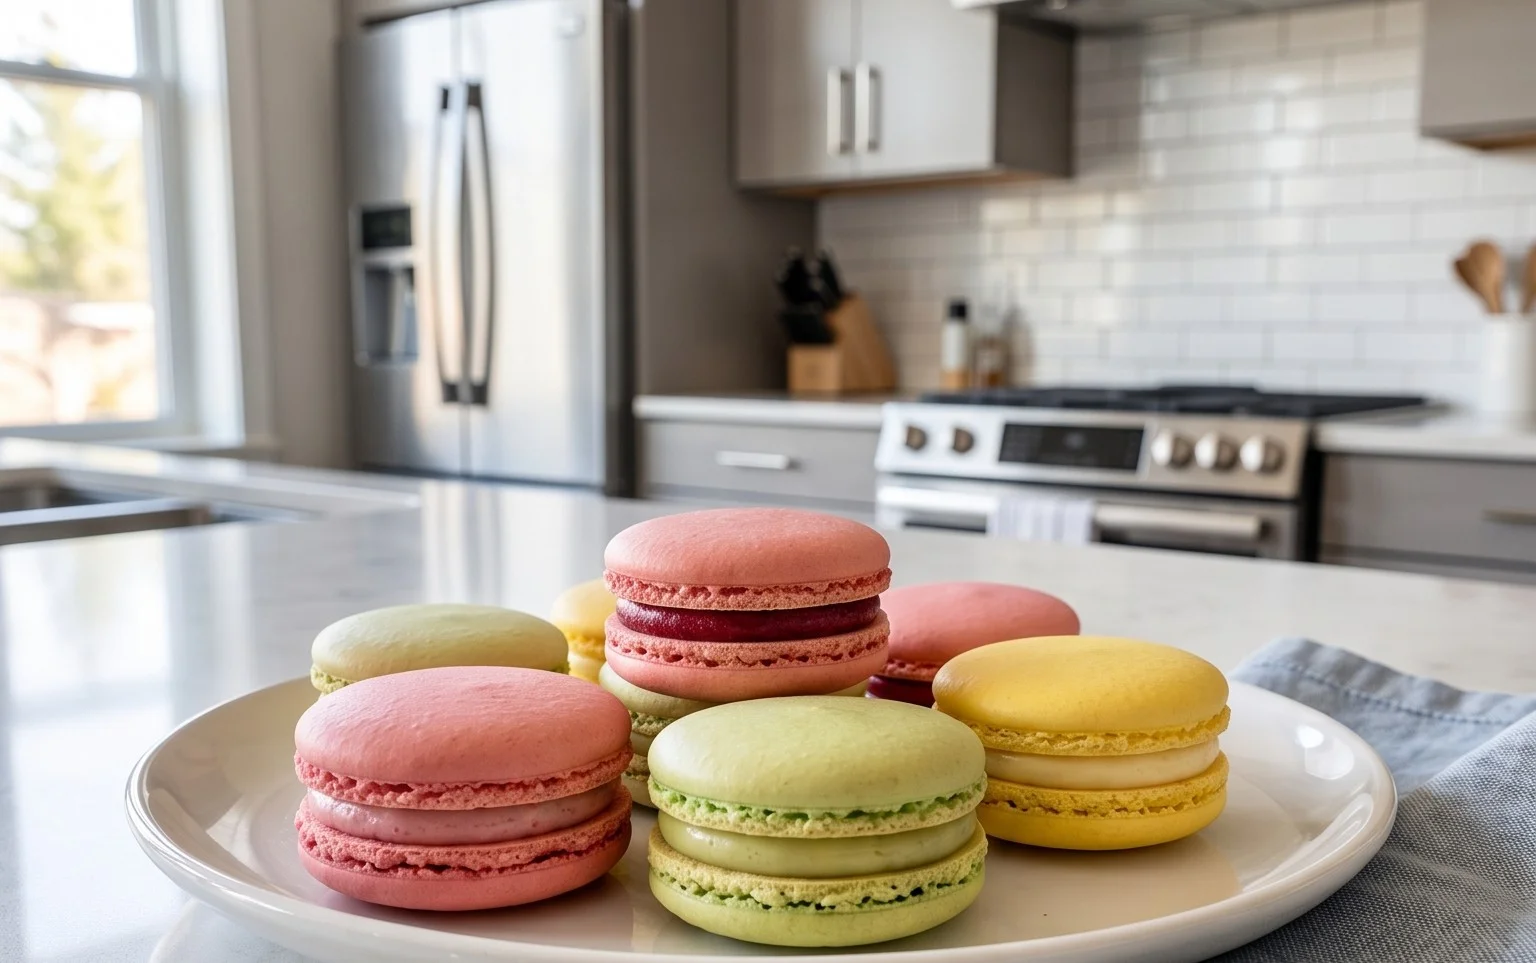
There’s something truly magical about a perfectly formed French macaron. These delicate, almond-based cookies with their crisp shells and chewy centers are a delight to both the eyes and the palate. While they may seem intimidating, with a little patience and attention to detail, you can absolutely master the art of macaron making in your own kitchen. This recipe, perfected through trial and error, will guide you through creating these beautiful confections, suitable for any special occasion or just a delightful afternoon treat.
Ingredients:
Preparation is Key: The Dry Ingredients
The foundation of a great macaron lies in precisely measured and prepared dry ingredients. First, ensure your almond flour is truly super-fine. If it feels a little coarse, you can pulse it briefly in a food processor, but be careful not to over-process, as this can release oils and affect the texture. The next crucial step is sifting. Sift your almond flour and powdered sugar together at least twice, if not three times. This process removes any lumps and ensures an incredibly smooth batter. A fine-mesh sieve is your best friend here. Don’t skip this step; it’s vital for achieving that signature smooth macaron shell. Add the salt to this sifted mixture and whisk gently to combine. Set this aside for now.
Making the Meringue: The Heart of the Macaron
This is arguably the most important stage, where technique truly matters. Ensure your mixing bowl and whisk are impeccably clean and free of any grease, as even a tiny amount can prevent your egg whites from whipping properly. In your clean bowl, combine the room-temperature egg whites and the granulated sugar. Begin extract whipping on a low speed. As the sugar begin extracts to dissolve and the mixture becomes foamy, gradually increase the speed to medium-high. You’re looking for a glossy, stiff meringue. This means when you lift the whisk, the peaks should stand straight up and not droop. This stage can take anywhere from 5 to 10 minutes depending on your mixer. Once you achieve stiff peaks, it’s time to add your color and flavor. Add the liquid-gel food coloring and vanilla extract. Continue whipping for another minute until the color is evenly distributed and the meringue is firm and glossy. The gel food coloring is preferred as it contains less liquid, which can impact the macaron batter.
The Macaronage: Folding for Perfection
Now comes the infamous “macaronage.” This is the process of gently folding the dry ingredients into the meringue. It’s a delicate balance; under-mixing will result in lumpy shells with no feet, while over-mixing will lead to flat, spread-out cookies that have no height. Take your sifted dry ingredients and add about a third of them to the meringue. Using a spatula, gently fold them in using a motion that scrapes the sides and bottom of the bowl and then folds over the top. Rotate the bowl as you fold. Continue adding the dry ingredients in two more additions, folding after each. The batter is ready when it reaches the “lava consistency.” What does that mean? When you lift your spatula, the batter should fall off in a thick ribbon and slowly melt back into itself in the bowl, like molten lava. You should be able to draw a figure-eight with the batter without it breaking. It’s crucial to stop folding as soon as this consistency is reached.
Piping and Resting: Patience Rewarded
Prepare your baking sheets by lining them with parchment paper or silicone baking mats. If using parchment, you can draw template circles on the underside to ensure uniform size, or simply pipe freehand. Transfer your macaron batter to a piping bag fitted with a round tip. Hold the piping bag perpendicular to the baking sheet and pipe small, uniform circles of batter. Leave about an inch of space between each macaron. Once you’ve piped all your macarons, firmly tap the baking sheets on your counter several times. This is essential to release any air bubbles trapped in the batter, which can cause hollow macarons or cracks. After tapping, let the piped macarons rest at room temperature for 30-60 minutes, or until a skin has formed on the surface. You should be able to gently touch the surface without the batter sticking to your finger. This skin helps the macarons develop their characteristic “feet” during baking.
Baking the Macarons: The Final Stretch
Preheat your oven to 300°F (150°C). It’s important to have a reliable oven thermometer to ensure accurate temperature, as macaron baking is sensitive to heat. Carefully place one baking sheet at a time into the preheated oven. Bake for approximately 12-15 minutes. The macarons are ready when the shells are firm, have developed prominent “feet,” and the centers do not wobble when gently nudged. They should lift easily off the parchment paper. If they stick, they need a few more minutes. Avoid opening the oven door too often during baking. Once baked, remove the baking sheet from the oven and let the macarons cool completely on the sheet before attempting to remove them. This is another crucial step to prevent breakage. Once fully cooled, gently peel them off the parchment paper.
Filling and Enjoying
Once your macaron shells are completely cool, it’s time to fill them. Pair your shells by size and gently spread your chosen filling (vanilla buttercream is a classic) onto the flat side of one shell. Then, top with a matching shell, pressing gently to sandwich the filling. For the best flavor and texture, it’s highly recommended to let your filled macarons mature in an airtight container in the refrigerator for at least 24 hours. This allows the flavors to meld and the shells to soften slightly, achieving that perfect chewy interior. Enjoy your homemade French macarons!
Conclusion:
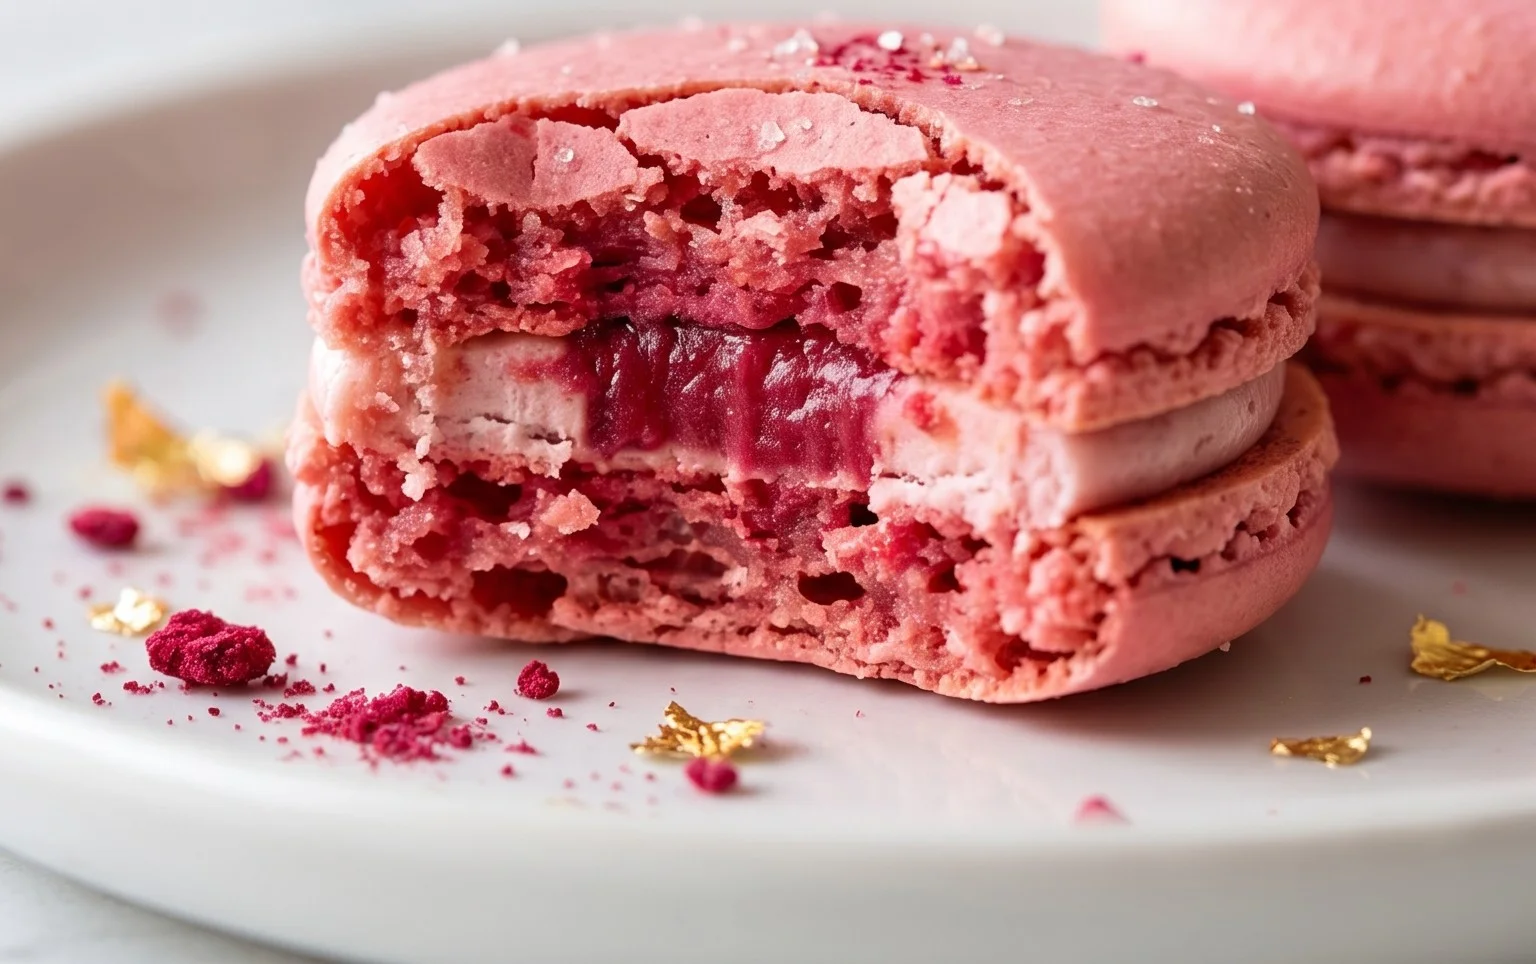
Mastering the delicate art of the French macaron recipe might seem daunting, but as we’ve explored, with patience and precision, you can create these exquisite little delights right in your own kitchen! The satisfaction of pulling a perfectly smooth, chewy macaron with a delicate foot from your oven is truly unparalleled. Their vibrant colors, delicate crunch, and delightful fillings make them a showstopper for any occasion, from elegant afternoon teas to celebratory birthday parties.
Don’t be afraid to experiment with fillings! Classic ganache and buttercream are always a hit, but consider a tart raspberry coulis, a zesty lemon curd, or even a rich coffee cream for exciting flavor twists. For visual appeal, try a simple dusting of edible glitter or a drizzle of contrasting chocolate. I truly encourage you to give this French macaron recipe a try; the results are incredibly rewarding!
Frequently Asked Questions:
Why are my macarons cracked?
Cracked macarons are often a result of oven temperature being too high, or under-mixing the batter, which can lead to pockets of air escaping unevenly during baking. Ensure your oven is accurately calibrated and that you’ve achieved the “lava flow” consistency when folding the almond flour mixture.
My macarons are hollow. What did I do wrong?
Hollow macarons can be caused by a few things. Over-whipping your meringue, under-mixing the batter (leading to not enough air being released), or an oven that’s too hot can all contribute to this issue. Gradual cooling of the meringue and careful folding are key!
Can I make macarons without a stand mixer?
Absolutely! While a stand mixer makes whipping the meringue much easier, you can certainly achieve stiff peaks with a hand mixer or even by whisking vigorously by hand if you’re feeling ambitious and have a strong arm!
French Macaron Recipe
A classic recipe for light and airy French macarons with a sweet vanilla buttercream filling.
Ingredients
-
150 grams sifted super-fine almond flour
-
180 grams powdered sugar
-
1/4 teaspoon salt
-
120 grams large egg whites (at room temperature)
-
60 grams granulated sugar
-
4 drops liquid-gel food coloring
-
1 teaspoon pure vanilla extract
Instructions
-
Step 1
Combine sifted almond flour, powdered sugar, and salt in a food processor and pulse a few times to combine. Sift this mixture into a bowl to remove any lumps. -
Step 2
In a separate clean bowl, whisk egg whites until foamy. Gradually add granulated sugar, whisking continuously until stiff peaks form and the meringue is glossy. -
Step 3
Add food coloring and vanilla extract to the meringue and gently fold it in until evenly distributed and the desired color is achieved. -
Step 4
Add the almond flour mixture to the meringue in three additions, folding gently after each addition until a smooth, lava-like batter forms. Be careful not to overmix. -
Step 5
Transfer the batter to a piping bag fitted with a round tip. Pipe small, uniform circles onto baking sheets lined with parchment paper or silicone mats. -
Step 6
Tap the baking sheets firmly on the counter a few times to release any air bubbles. Let the macarons sit at room temperature for 30-60 minutes, or until a skin forms. -
Step 7
Bake in a preheated oven at 300°F (150°C) for 12-15 minutes, or until the macarons are set and have developed small ‘feet’. -
Step 8
Let the macarons cool completely on the baking sheets before carefully removing them. Once cooled, pair matching macaron shells and fill with Vanilla Buttercream Frosting or your choice of filling.
Important Information
Nutrition Facts (Per Serving)
It is important to consider this information as approximate and not to use it as definitive health advice.
Allergy Information
Please check ingredients for potential allergens and consult a health professional if in doubt.