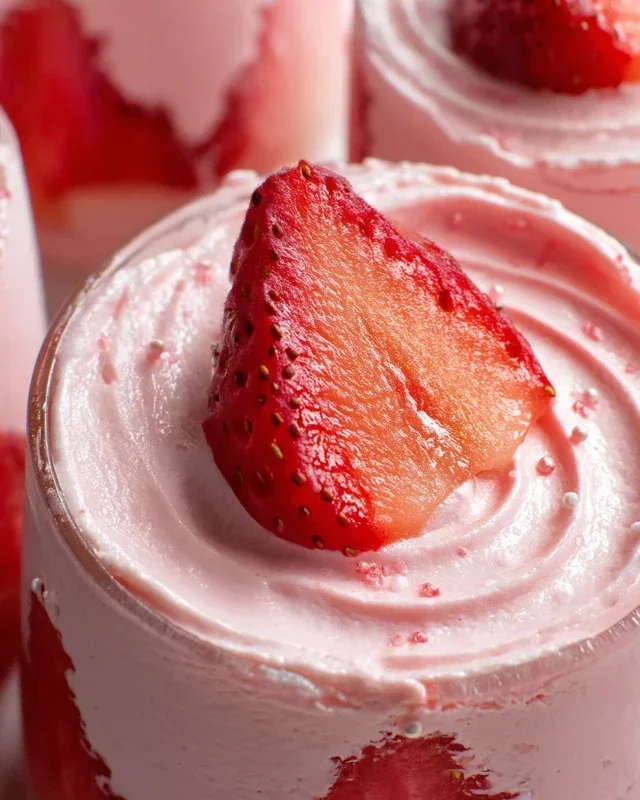
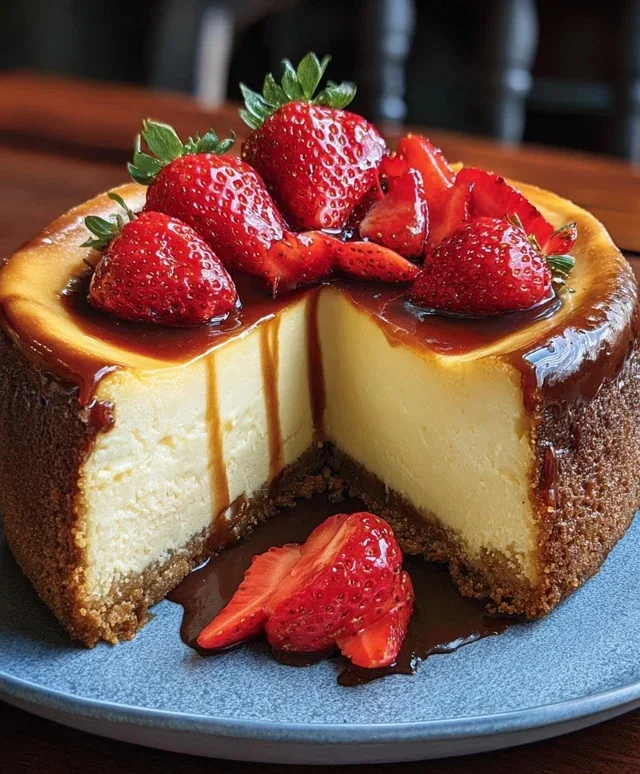
Easy Strawberry Cheesecake Cups- Delicious Dessert Recipe
Strawberry Cheesecake Cups are the ultimate dessert dream realized! Who can resist the creamy, dreamy goodness of cheesecake combined with the sweet burst of fresh strawberries, all nestled in individual, perfectly portioned cups? I know I can’t! These delightful little treats are an absolute crowd-pleaser, perfect for everything from casual weeknight cravings to elegant dinner parties. What makes these Strawberry Cheesecake Cups so incredibly special is their effortless charm and irresistible flavor combination. We’re talking a buttery grabeef ham cracker crust, a rich and velvety cheesecake filling, and a vibrant, jewel-toned strawberry topping that sings with freshness. They’re easy to make, fun to assemble, and guaranteed to bring smiles to everyone’s faces. Get ready to fall head over heels for these delightful Strawberry Cheesecake Cups!

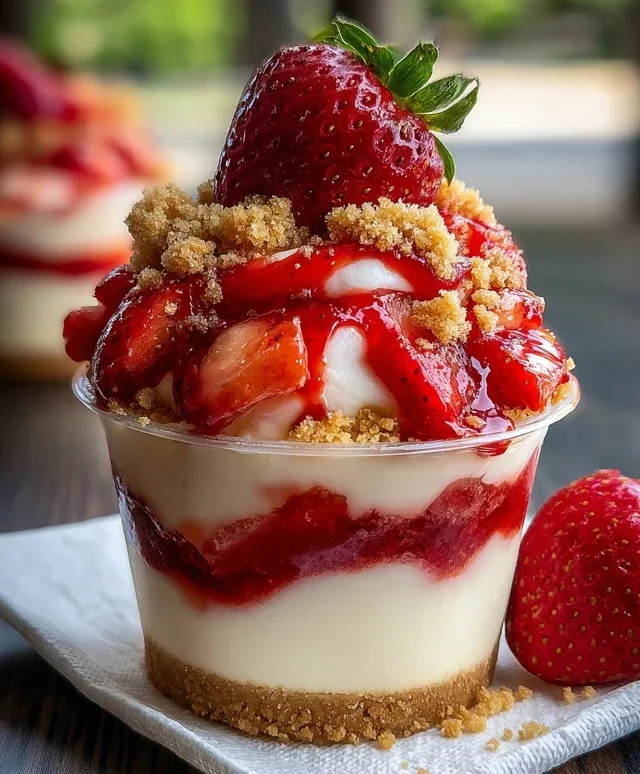
Strawberry Cheesecake Cups
There’s something incredibly satisfying about a perfectly portioned dessert, and these Strawberry Cheesecake Cups are the epitome of individual indulgence. Imagin extracte creamy, tangy cheesecake filling nestled atop a buttery, crum extractbly grabeef ham cracker crust, all crowned with a burst of fresh, sweet strawberry topping. They’re incredibly easy to make, requiring no baking, and are guaranteed to impress your friends and family. Whether you’re looking for a quick dessert for a weeknight treat or a show-stopping option for a party, these cups are the answer. The beauty of this recipe lies in its simplicity and the delightful contrast of textures and flavors. The smooth, rich cheesecake filling is perfectly balanced by the bright, slightly tart strawberries and the satisfying crunch of the grabeef ham cracker base. Let’s dive into creating these little cups of joy!
Ingredients:
Crust Preparation
The foundation of any great dessert is its base, and for our Strawberry Cheesecake Cups, we’re opting for a simple yet incredibly flavorful grabeef ham cracker crust. This no-bake wonder comes together in minutes and provides the perfect crunchy contrast to the creamy filling.
Step 1: Crafting the Perfect Crust
In a medium bowl, combine the 1 cup of crushed grabeef ham crackers with the 2 tablespoons of brown sugar. The brown sugar adds a subtle caramel note that complements the grabeef ham crackers beautifully. Next, pour in the ¼ cup of melted butter. Mix everything thoroughly with a fork or your hands until all the grabeef ham cracker crum extractbs are moistened. You want the mixture to resemble wet sand – it should hold together when you squeeze a little bit in your hand. This ensures your crust will pack down nicely and stay in place.
Step 2: Assembling the Base Layer
Now, it’s time to form the crust in your serving vessels. You can use small glasses, ramekins, or even mason jars for this. Divide the grabeef ham cracker mixture evenly among your chosen containers, pressing it down firmly with the back of a spoon or the bottom of a small glass. Aim for a compact and even layer. This step is crucial for preventing a crum extractbly base. You want it to be sturdy enough to support the creamy cheesecake filling.
Cheesecake Filling
This is where the magic truly happens! We’re creating a light, airy, and lusciously smooth cheesecake filling that is so easy to whip up.
Step 3: Whipping Up the Creamy Center
In a large bowl, beat the 8 ounces of softened cream cheese until it’s smooth and creamy, with no lumps. Make sure your cream cheese is truly softened – this is key to achieving a silky texture. Gradually add the ½ cup of powdered sugar and continue beating until well combined and fluffy. Next, stir in the ½ cup of Greek yogurt (or sour cream for a tangier flavor) and the 1 teaspoon of vanilla extract. Beat until everything is just incorporated. Be careful not to overmix at this stage.
Step 4: Folding in the Whipped Cream
Now for the lightness! Gently fold in the 1 ½ cups of whipped cream (or Cool Whip) into the cream cheese mixture. Use a spatula and a gentle, folding motion. This process incorporates air, making the cheesecake filling light and airy rather than dense. You want to combine it until no streaks of cream cheese or whipped cream remain, but avoid overworking the mixture, which can deflate the airiness.
Strawberry Topping
A vibrant, fresh strawberry topping is the perfect counterpoint to the rich cheesecake. We’re making a quick, delicious compote that highlights the natural sweetness of the berries.
Step 5: Creating the Sweet Strawberry Sauce
In a small saucepan, combine the 2 cups of chopped fresh strawberries with the ¼ cup of granulated sugar and the 1 teaspoon of lemon juice. The lemon juice adds a touch of brightness that enhances the strawberry flavor. Cook over medium heat, stirring occasionally, until the strawberries begin extract to break down and release their juices, and the sugar has dissolved. This usually takes about 5-7 minutes.
If you prefer a thicker topping, this is where the optional cornstarch slurry comes in. In a tiny bowl, whisk together the 1 teaspoon of cornstarch with the 1 tablespoon of water until smooth. Pour this slurry into the simmering strawberries and stir continuously until the mixture thickens. This will happen quite quickly. Remove the saucepan from the heat and let the strawberry topping cool completely. This cooling step is important, as a hot topping can melt the cheesecake filling.
Assembly and Finishing Touches
The final act is bringin extractg all these delicious components together.
Step 6: Layering and Decorating Your Cups
Once the cheesecake filling has been prepared and the strawberry topping has cooled, it’s time to assemble your beautiful Strawberry Cheesecake Cups. Spoon a generous layer of the creamy cheesecake filling over the prepared grabeef ham cracker crust in each serving vessel. Smooth the tops slightly with your spoon. Then, spoon a good amount of the cooled strawberry topping over the cheesecake layer. Finally, garnish each cup with a swirl of whipped cream, a few extra fresh strawberry slices, and a drizzle of your favorite strawberry sauce for an extra touch of sweetness and visual appeal.
These Strawberry Cheesecake Cups are best served chilled, so allow them to set in the refrigerator for at least 30 minutes before serving. This allows the flavors to meld and the cheesecake filling to firm up slightly. Enjoy these delightful individual desserts that are as pretty as they are delicious!
Conclusion:
And there you have it – your guide to creating these delightful Strawberry Cheesecake Cups! This recipe is a winner because it offers all the rich, creamy, tangy goodness of classic cheesecake without the fuss of a water bath or springform pan. The individual portions make them perfect for parties, potlucks, or simply as a special treat for yourself. The vibrant red of the strawberries against the creamy white filling is visually stunning, making these cups as beautiful as they are delicious. We’ve explored simple yet impactful serving suggestions, like a drizzle of extra strawberry sauce or a sprig of fresh mint, and even touched upon fun variations, such as adding lemon zest for a brighter flavor or using mixed berries for a colorful medley.
I truly encourage you to give these Strawberry Cheesecake Cups a try. They’re surprisingly easy to assemble and offer a huge flavor payoff. Imagin extracte the smiles you’ll bring to faces when you serve these up! They’re a fantastic way to impress without being intimidated.
Frequently Asked Questions:
Q: Can I make these Strawberry Cheesecake Cups ahead of time?
A: Absolutely! In fact, they are best made ahead. I recommend chilling them for at least 2-4 hours, or even overnight, to allow the cheesecake filling to set properly and the flavors to meld. This also makes them a perfect make-ahead dessert for busy hosts.
Q: What if I don’t have fresh strawberries? Can I use frozen?
A: Yes, you can use frozen strawberries. If using them for the topping or sauce, thaw them completely and drain off any excess liquid before mashing or pureeing. For the filling, if you are not using a fresh strawberry swirl, you can incorporate a strawberry puree made from thawed frozen berries. Just be mindful of any added water content.
Q: How long do these Strawberry Cheesecake Cups last in the refrigerator?
A: These delightful cups will typically stay fresh in the refrigerator for 3-4 days when stored in an airtight container. The grabeef ham cracker crust might soften slightly over time, but they will still be delicious.
Strawberry Cheesecake Cups
Individual no-bake strawberry cheesecake cups with a graham cracker crust.
Ingredients
-
8 oz cream cheese, softened
-
½ cup powdered sugar
-
½ cup Greek yogurt
-
1 tsp vanilla extract
-
1 ½ cups whipped cream
-
2 cups fresh strawberries, chopped
-
¼ cup granulated sugar
-
1 tsp lemon juice
-
1 cup crushed graham crackers
-
¼ cup melted butter
-
2 tbsp brown sugar
-
Whipped cream
-
Extra strawberries
-
Drizzle of strawberry sauce
Instructions
-
Step 1
For the crust: Combine crushed graham crackers, melted butter, and brown sugar in a bowl. Mix well. -
Step 2
Press the graham cracker mixture evenly into the bottom of 6 small cups or ramekins. -
Step 3
For the cheesecake filling: In a large bowl, beat cream cheese and powdered sugar until smooth. Stir in Greek yogurt and vanilla extract. -
Step 4
Gently fold in the whipped cream until just combined. -
Step 5
For the strawberry topping: In a separate bowl, combine chopped strawberries, granulated sugar, and lemon juice. Let sit for 5-10 minutes. -
Step 6
Spoon the cheesecake filling over the crust in each cup. Chill for at least 30 minutes. -
Step 7
Top each cheesecake cup with the strawberry mixture, whipped cream, extra strawberries, and a drizzle of strawberry sauce before serving.
Important Information
Nutrition Facts (Per Serving)
It is important to consider this information as approximate and not to use it as definitive health advice.
Allergy Information
Please check ingredients for potential allergens and consult a health professional if in doubt.