Sweet Spicy Peach Salsa Canning Recipe-Fresh Flavor
Sweet & Spicy Peach Salsa Canning Recipe perfection awaits! Imagin extracte the vibrant burst of sun-ripened peaches, kissed with a gentle warmth of chili peppers and a whisper of zesty lime – that’s the magic we’re bottling up today. This isn’t just any salsa; it’s a gateway to summer sunshine, ready to elevate your grilled chicken, tacos, or even a simple scoop of tortilla chips any time of year. People absolutely adore this sweet and spicy peach salsa for its addictive balance of flavors. It’s that perfect harmony of sweet, tangy, and a touch of heat that keeps you coming back for more. What makes our Sweet & Spicy Peach Salsa Canning Recipe truly special is its versatility and the sheer joy of preserving the peak season bounty. It’s a delightful way to capture the essence of warm days and share that deliciousness with loved ones, even when the seasons change.
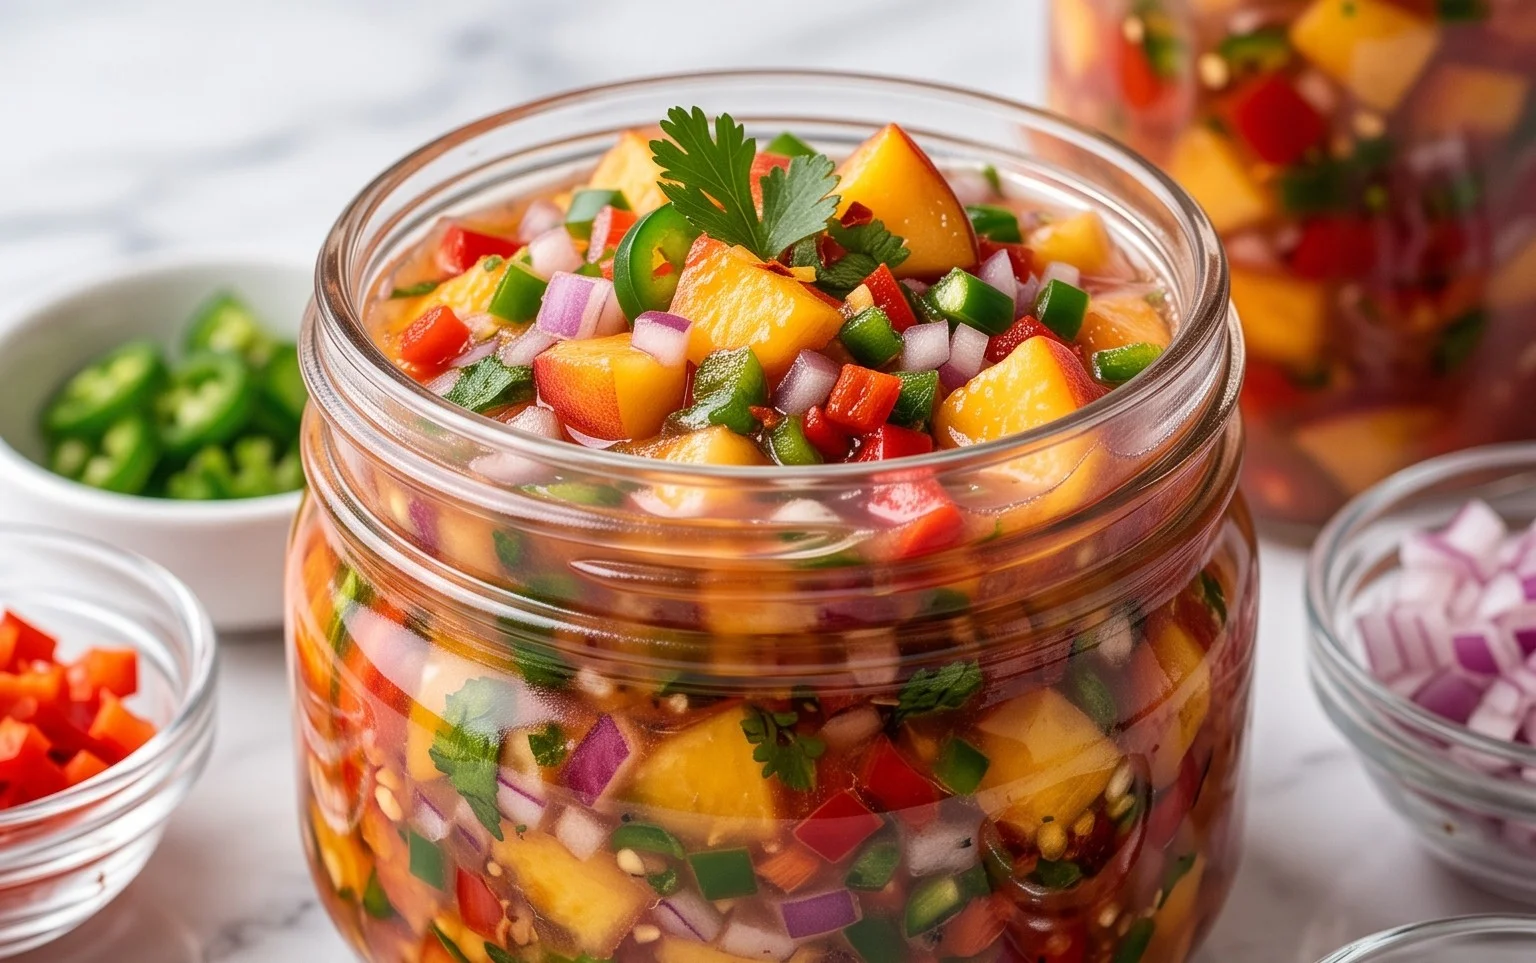
Sweet & Spicy Peach Salsa Canning Recipe
There’s something incredibly satisfying about a jar of homemade salsa. It’s a taste of summer preserved, ready to elevate your tacos, grilled chicken, or even just a simple bowl of chips. This Sweet & Spicy Peach Salsa recipe takes that satisfaction to a whole new level. The natural sweetness of ripe peaches pairs beautifully with the kick of chile peppers and the bright tang of lime and vinegar, creating a flavor explosion that’s both refreshing and warming. Canning this salsa means you can enjoy this delightful condiment all year round, bringin extractg a burst of sunshine to even the chilliest days. Let’s get started on preserving this little jar of happiness!
Ingredients:
Cooking Instructions
This recipe yields approximately 6-7 pint-sized jars of salsa. Ensure you have your canning equipment ready, including jars, lids, rings, a large pot for boiling the salsa, and a water bath canner. Sterilizing your jars and lids is crucial for safe canning. You can do this by washing them thoroughly and then boiling them in water for at least 10 minutes.
Step 1: Prepare Your Produce
The first step is to get all your fruits and vegetables prepped. For the peaches, you’ll want to use ripe but firm ones. Peel them first – a quick dip in boiling water can help loosen the skins. Then, cut them into roughly ¼ to ½ inch dice. Don’t worry about perfection here; a rustic cut adds to the charm of homemade salsa. Next, dice your tomatoes. If you prefer a less watery salsa, you can seed and core the tomatoes before dicing. For the chile peppers, this is where you can really customize the heat. Jalapeños will give you a mild to medium heat, while serranos or even habaneros will provide a significant kick. Remember to wear gloves when handling hotter peppers, and remove the seeds and membranes for less heat, or leave them in if you’re feeling brave! Dice the red onion finely and mince your garlic. Consistency in dicing will help the salsa cook evenly.
Step 2: Combine and Simmer the Salsa Base
In a large, non-reactive pot (stainless steel or enamel-coated is ideal to prevent metallic off-flavors), combine the diced peaches, diced tomatoes, diced chile peppers, diced red onion, and minced garlic. Add the distilled white vinegar, bottled lime juice, chile pepper flakes, and sea salt. Stir everything together gently to ensure the ingredients are well distributed. We’re aiming for a vibrant mix of colors and textures.
Step 3: Cook Down the Salsa
Place the pot over medium-high heat and bring the mixture to a rolling boil, stirring occasionally. Once it reaches a boil, reduce the heat to medium-low, cover the pot, and let it simmer for at least 30-45 minutes, stirring every 10-15 minutes. This simmering time is crucial for melding the flavors and allowing the peaches and tomatoes to break down slightly, creating a cohesive salsa. You’ll notice the salsa will thicken as it cooks. If you prefer a chunkier salsa, you can simmer for a shorter period. If you like it saucier, simmer a little longer. Taste and adjust seasoning during this phase – you might want to add a touch more salt, lime juice, or chile flakes depending on your preference.
Step 4: Prepare for Canning
While the salsa is simmering, ensure your canning jars, lids, and rings are hot. You can keep your sterilized jars warm in a low oven (around 200°F or 93°C) or in simmering water. Heat your lids according to the manufacturer’s instructions – typically by simmering them in water. A water bath canner should be filled with enough water to cover the jars by at least 1-2 inches and brought to a simmer (around 180°F or 82°C).
Step 5: Fill Jars and Process
Once the salsa has reached your desired consistency and the flavors have melded, carefully ladle the hot salsa into the hot, sterilized jars, leaving a ½-inch headspace (the space between the top of the salsa and the rim of the jar). Remove any air bubbles by sliding a non-metallic utensil (like a plastic spatula or chopstick) around the inside of the jar. Wipe the rims of the jars with a clean, damp cloth to ensure a good seal. Place the hot lids on the jars and screw on the rings until they are finger-tip tight – not too tight, as air needs to escape during processing.
Carefully place the filled jars into the simmering water bath canner, ensuring they are submerged. Bring the water to a rolling boil. Once boiling, start your processing time. For pint jars, process for 15 minutes. If you are at an altitude higher than 1,000 feet, you’ll need to adjust processing times – consult a reliable canning guide for altitude adjustments. After the processing time is complete, turn off the heat, remove the canner lid, and let the jars sit in the hot water for another 5 minutes. This helps prevent siphoning.
Step 6: Cool and Store
Carefully remove the jars from the water bath canner using a jar lifter and place them on a towel-lined surface to cool completely. You’ll likely hear a satisfying “ping” as the lids seal. Do not retighten the rings. Let the jars cool undisturbed for 12-24 hours. Once completely cool, check the seals by pressing down on the center of the lid. If the lid is concave and doesn’t flex, it has senon-alcoholic aled properly. Remove the rings, wipe the jars clean, and store them in a cool, dark place. Properly canned salsa can last for at least a year. Refrigerate any unsenon-alcoholic aled jars and consume them within a few weeks. Enjoy your delicious homemade Sweet & Spicy Peach Salsa!
Conclusion:
There you have it – a fantastic recipe for Sweet & Spicy Peach Salsa Canning! This vibrant salsa is an absolute winner because it perfectly balances the natural sweetness of ripe peaches with a delightful kick of spice, creating a flavor profile that’s both refreshing and exciting. The beauty of canning this recipe means you can savor the taste of summer all year round, adding a burst of sunshine to any meal. It’s incredibly versatile; imagin extracte it gracing your grilled chicken or fish, as a delightful dip with tortilla chips, or even stirred into a flavorful glaze. Don’t be afraid to experiment with variations! You can adjust the heat level by adding more or fewer jalapeños, or introduce other fruits like mango for a tropical twist. I truly encourage you to give this Sweet & Spicy Peach Salsa Canning recipe a try. It’s a rewarding process that yields delicious results, and I’m confident you’ll be thrilled with the outcome.
Frequently Asked Questions:
Why should I can this peach salsa?
Canning this Sweet & Spicy Peach Salsa allows you to preserve its delicious flavor and enjoy it long after peach season ends. It’s a wonderful way to have homemade, fresh-tasting salsa readily available for impromptu gatherings or a quick weeknight meal enhancer. Plus, the canning process ensures a safe and stable product for storage.
Can I make this salsa without canning it?
Absolutely! If you plan to consume the salsa within a week or two, you can easily store it in an airtight container in the refrigerator. The flavor will still be wonderful, but it won’t have the extended shelf life that canning provides.
What other peppers can I use besides jalapeños?
Feel free to get creative! For a milder heat, you could use serrano peppers or even a pinch of cayenne pepper. If you’re looking for more intense heat and a different flavor profile, consider habaneros, though use them sparingly as they are significantly hotter.
Sweet & Spicy Peach Salsa Canning Recipe
A delightful blend of sweet peaches and spicy peppers, perfect for canning and enjoying year-round. This salsa offers a balanced sweet and heat profile, with a bright, zesty finish.
Ingredients
-
8 cups diced peaches (peeled and pitted)
-
4 cups diced tomatoes
-
2 cups diced chile peppers (choose pepper according to your heat preference)
-
2 cups diced red onion
-
5-7 cloves garlic (minced)
-
1 1/2 cup distilled white vinegar
-
1 cup bottled lime juice
-
1-2 tablespoons chile pepper flakes (more or less according to to taste)
-
1 tablespoon sea salt
Instructions
-
Step 1
Prepare your canning equipment: wash jars, lids, and bands in hot, soapy water and sterilize them. Keep jars hot until ready to fill. -
Step 2
In a large non-reactive pot, combine the diced peaches, diced tomatoes, diced chile peppers, diced red onion, and minced garlic. Stir gently to mix. -
Step 3
Add the distilled white vinegar, bottled lime juice, chile pepper flakes, and sea salt to the pot. Stir well to combine all ingredients. -
Step 4
Bring the mixture to a boil over medium-high heat, then reduce heat and simmer for 15 minutes, stirring occasionally, to allow flavors to meld and thicken slightly. -
Step 5
Ladle the hot salsa into hot, sterilized canning jars, leaving 1/2 inch headspace. Remove air bubbles by running a non-metallic spatula around the inside of the jar. Wipe jar rims clean. -
Step 6
Center lids on jars and screw bands on until fingertip tight. Place jars in a boiling water canner, ensuring they are covered by at least 1-2 inches of water. Bring water to a rolling boil. -
Step 7
Process jars in the boiling water canner for 15 minutes (adjust for altitude if necessary). Turn off heat, remove canner lid, and let jars stand in the water for 5 minutes before carefully removing them to a towel-lined surface to cool completely. -
Step 8
Check for seal after 12-24 hours. If a lid has not sealed, refrigerate the jar and consume within a few weeks. Properly sealed jars can be stored in a cool, dark place for up to a year.
Important Information
Nutrition Facts (Per Serving)
It is important to consider this information as approximate and not to use it as definitive health advice.
Allergy Information
Please check ingredients for potential allergens and consult a health professional if in doubt.